Showing posts with label chocolate. Show all posts

July 15, 2013

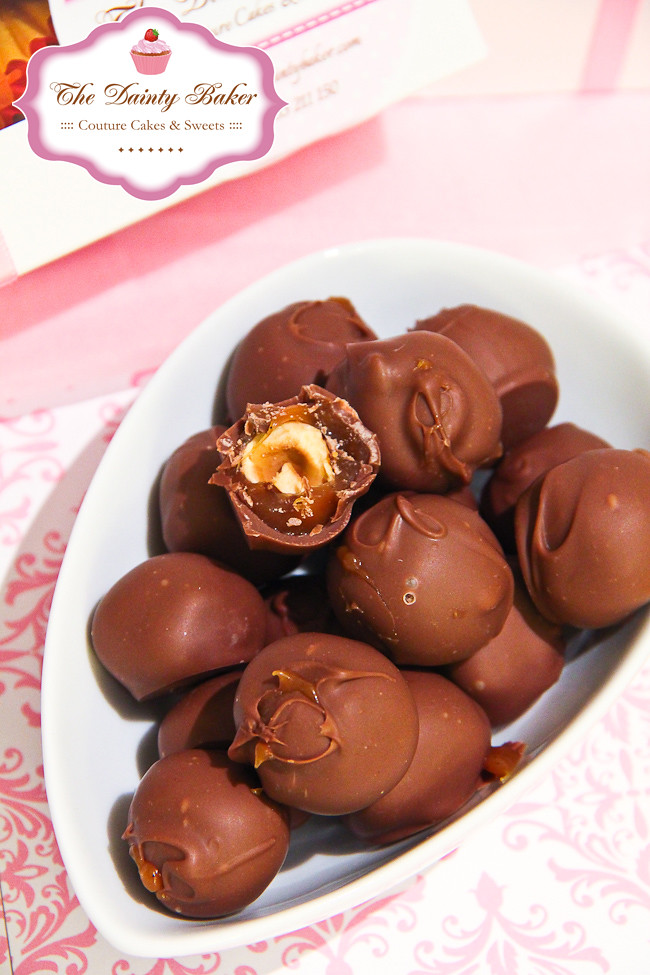
The Sweet Swap 2013 - Homemade Toffifay

If you have been following my Instagram, Twitter and Facebook you have probably noticed sweet goodies I have been posting! These are the fruits of my Sweet Swap experience! What is the Sweet Swap I hear you ask? It's an online event where food and lifestyle bloggers get matched up with 3 other  participating bloggers and send each other sweets from around Australia... all in the name of Charity - Child Fund Australia.

So what did I make to send to 3 lovely fellow bloggers? .... Homemade Toffifay!! It took me ages to narrow down what I wanted to do ... then another long while to figure out if they would make it in the post to their various destinations! lol!
thesweetswap-6-2

The story behind my love of Toffifay started during my escapade to the States for my baking course. It was introduced to me by a friend who was also doing exchange. I remember it was in the middle of Times Square, NY when I first tried it - god only knows what hour that was... but I remember that first taste and the gooey chewy caramel encasing a roasted hazelnut (MY FAVOURITE THING IN THE WHOLE WORLD!) It was so amazing and it totally BLEW. MY. MIND.!! A few weeks later in school we were making chocolates with the awesome chocolatier from Switzerland - Fabian Rimann. We were all mucking around with recipes and thus came up with something that tasted so much like Toffifay! It was funny because an Australian, an American and a Swiss all pretty much yelled out Toffifay all together when we tasted it! LOL

Anyways, enough background! Here's the recipe, so spread the word! Toffifay has hit Australia!!!
thesweetswap-4-2


Homemade Toffifay
Makes approx 100-110 (can't be sure because I kept "tasting" them along the way)

Ingredients
100 hazelnut kernels (probs 150 g - sorry forgot to measure it but it should fill a small bowl)
500 g cream
300 g sugar
100 g glucose
1/2 vanilla bean - seeds scraped
500 g couverture chocolate (can be milk or dark depending on your preference)

Method
1. Roast the hazelnuts for about 15 mins at 160oC. Remove skins (rub between a tea towel or your hands) and leave to cool down.

Hazelnuts

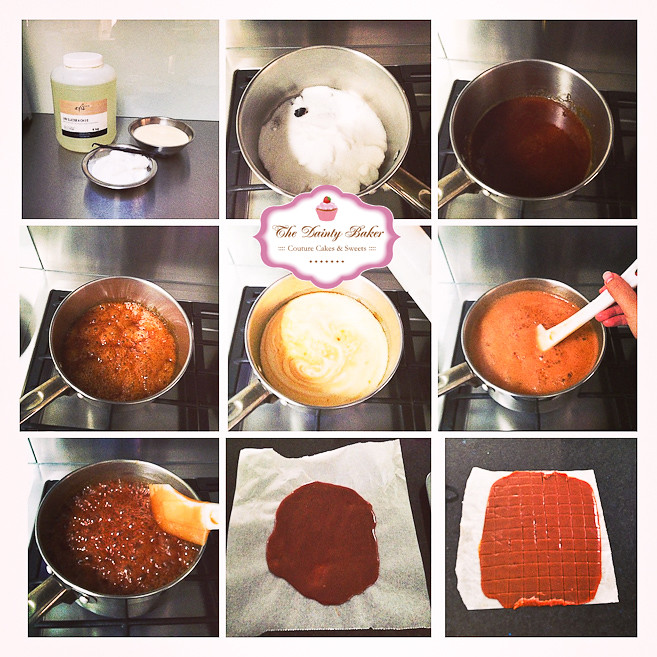
2. Make your caramel. Place the sugar, glucose and vanilla beans in a heavy based pot. Slowly, melt the sugar - when it is close to being all melted, warm the cream in a microwave and slowly add to the sugar, stirring gently. NOTE - it is important to warm the cream because the sugar goes nuts spits out if you add it 1. cold and 2. too quickly ... dont want anyone getting burnt.
thesweetswap-15

3. Bring the mixture up to 122oC - stiring occasionally.
4. Once it reaches this temperature, pour onto grease proof paper and let it cool down and set.
5. Using an oiled sharp knife, cut the caramel into 2 x 2 cm squares.
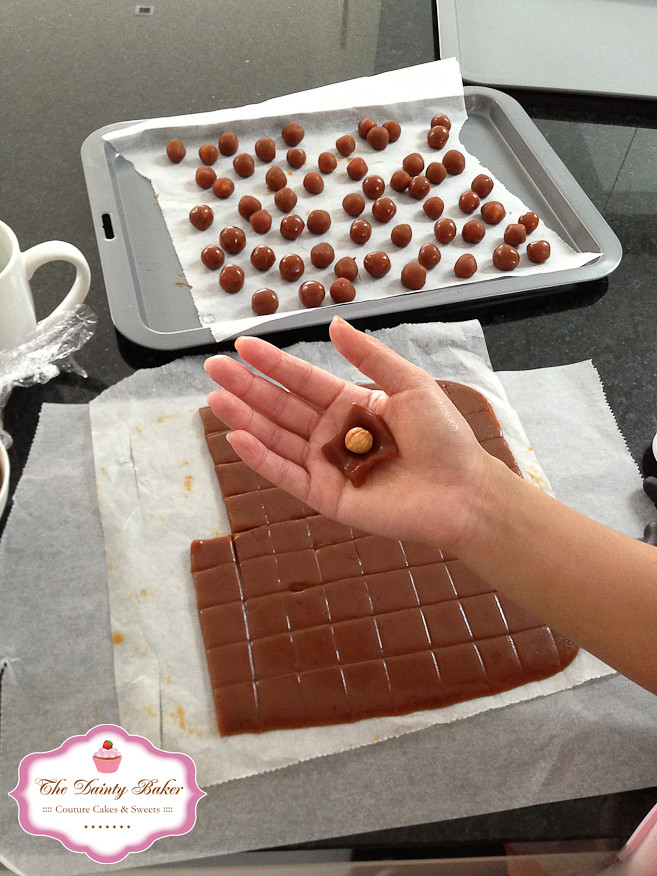
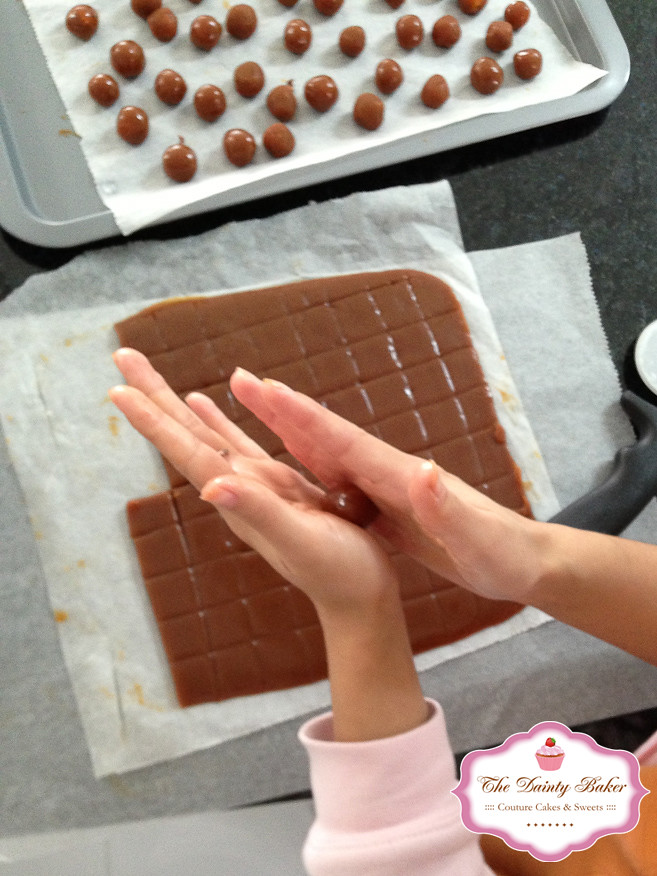
6. The fun part! Take a hazelnut and wrap in the caramel as shown. It should be soft enough to mould around the nut quite easily.
thesweetswap-5
thesweetswap-6
thesweetswap-7

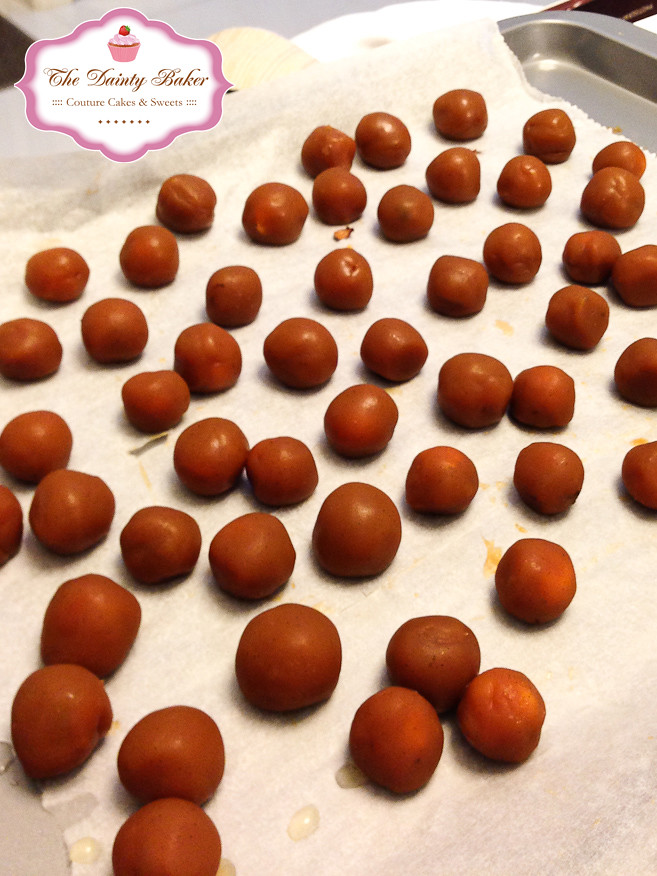
7. Place in the fridge and allow it to harden.
thesweetswap-8

8. Whilst the caramel nuts are in the fridge, temper your chocolate. You can do this several ways: 1. Tabling, 2. Seeding or 3. Direct. I used the tabling method as it creates tempered chocolate at a less viscous liquid state but this requires the use of a marble slab so if you dont have this, seeding will also do. You just need to melt 2/3 of your chocolate to approx 46oC (dark) or 43oC (milk). Then add the remaining chocolate slowly to bring the temp back up to 32oC (dark) or 30oC(milk). You should have tempered chocolate once this is done. Dont forget to maintain the temp at the 30oC mark otherwise it will harden and if you heat it too much it will come out of temper.

9. Using a round dipping fork (... or if you dont have one like me and cant be bothered to go buy one... you can just make one from wire - worked for me!), drop the caramel nut into the chocolate then using a scooping motion cover the nut in chocolate and lift it out at the same time. To ensure theres not too much excess chocolate on the nut, when it is on the fork you can do an up and down motion just above the chocolate so that the chocolate in the bowl pulls at the chocolate that is already on the nut.
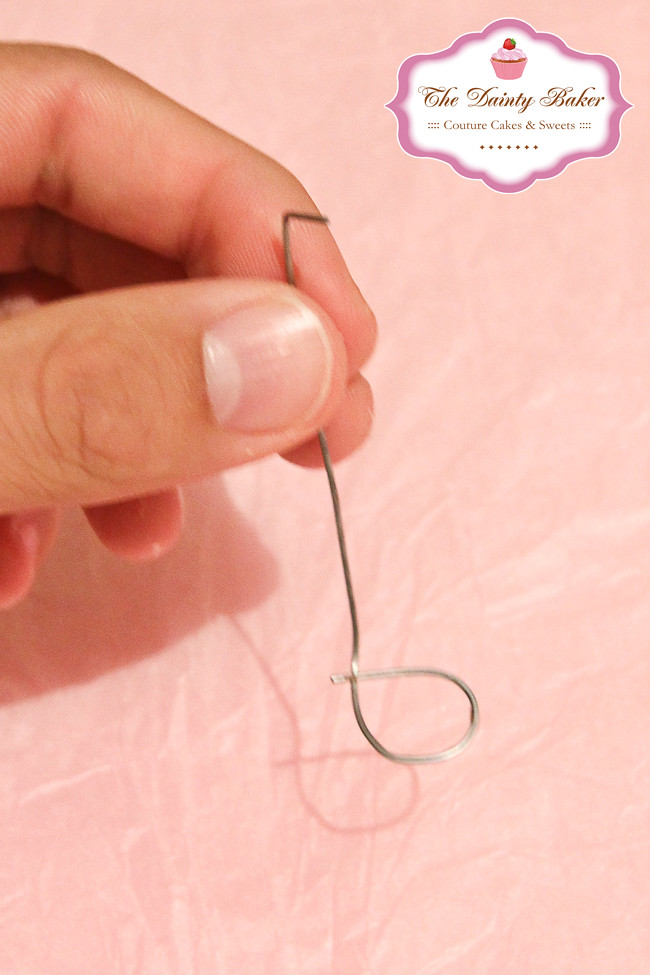
thesweetswap-8-2
This was my homemade dipping fork! Lol looks shonky but sure did the trick!

10. Place the chocolate covered nut on a piece of grease proof paper and let the chocolate set.
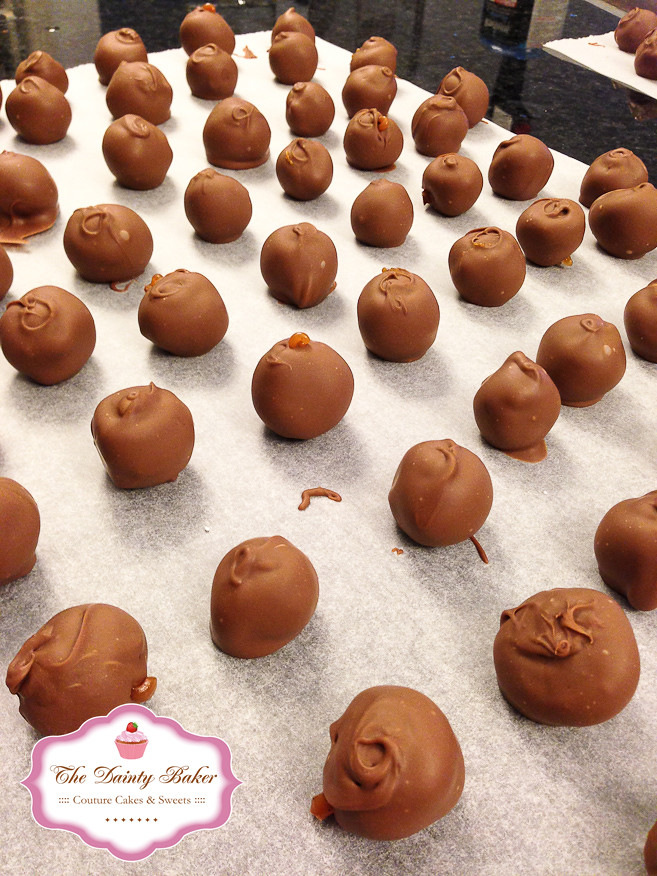
thesweetswap-9

10. You will need to reheat the chocolate up several times during the dipping process as it will start to set on the edges and might get too thick to dip properly. But make sure when you do this you do not over heat! We did that in school when we made them and wondered why the the chocolate didnt set!! The easiest way to do this is use a metal bowl to dip so that when it gets a little cool you can use a blow torch to the outside of the bowl to heat it gently.

11. Toffifay's are ready for your taste buds!! Go nuts!
thesweetswap-7-2
thesweetswap-5-2

thesweetswap-10
The 3 people I sent these to Billy from A Table for Two, Sara from Belly Rumbles and Daisy from Never Too Sweet for Me.

thesweetswap-12
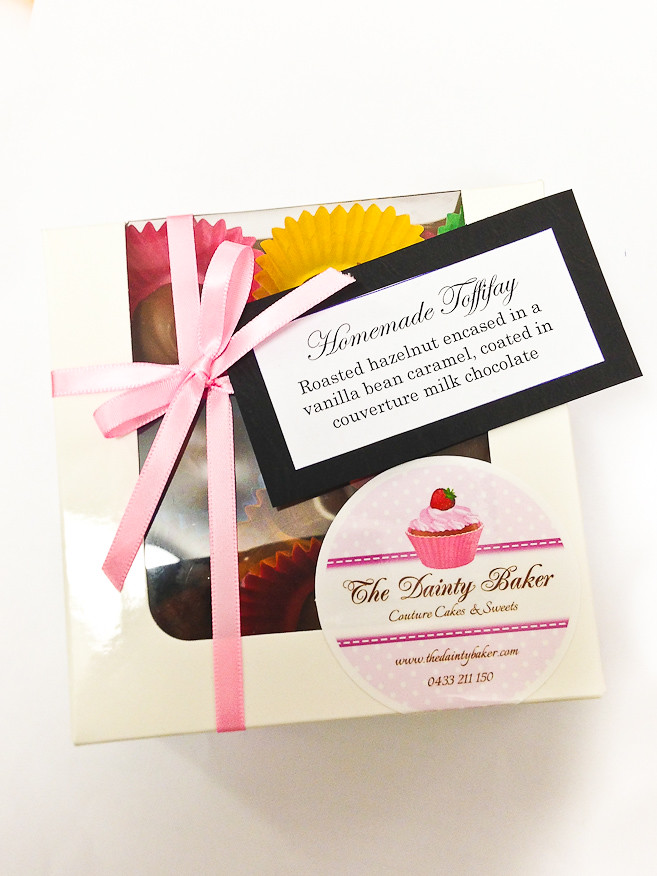
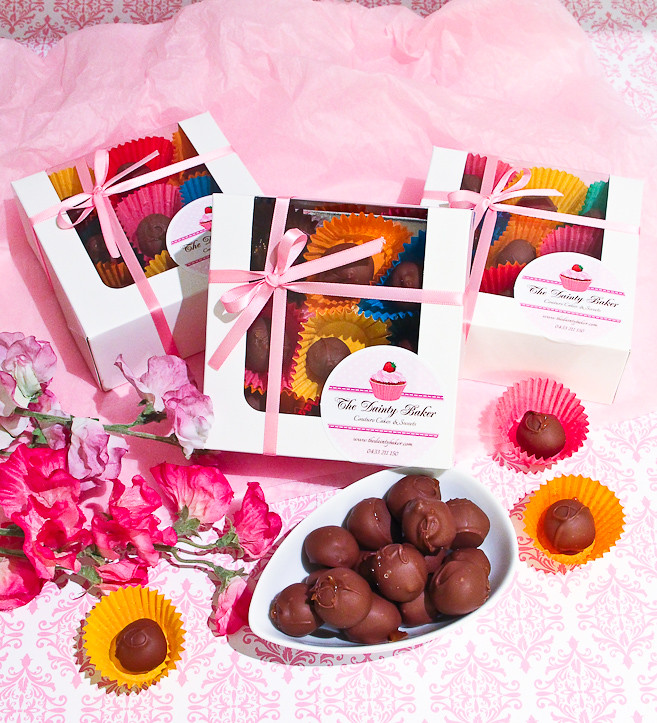
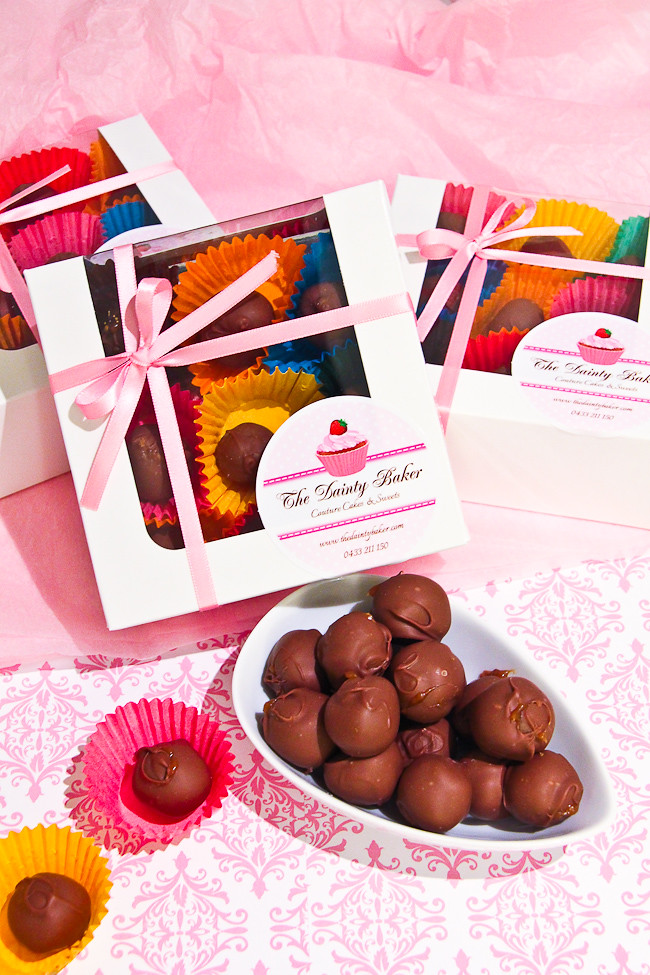
The Packaging - I placed it in one of my macaron boxes and included a little card explaining what these little morsels were :) So glad they made the trip ok!

Now for what I received!

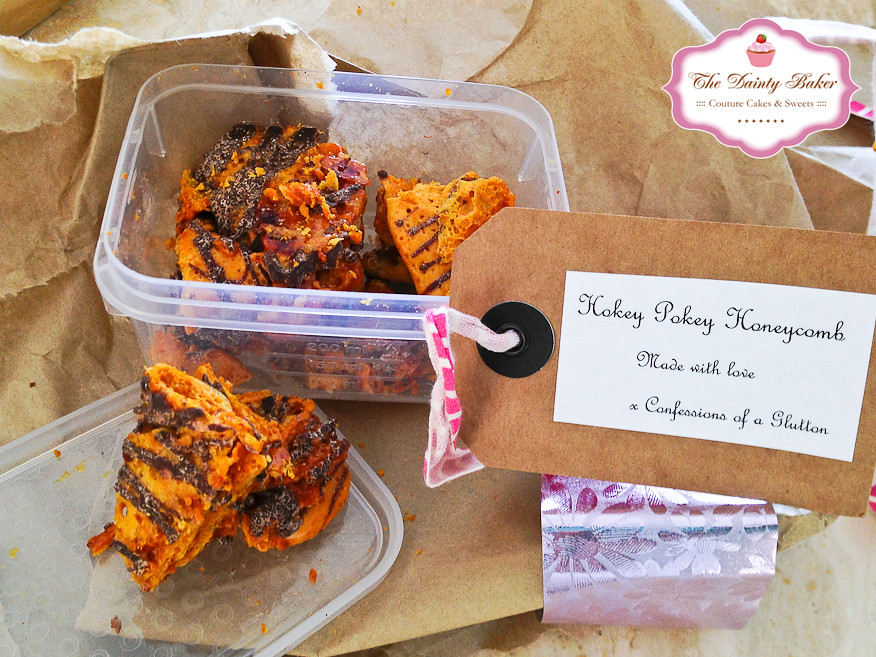
Hokey Pokey Honeycomb - Cath @ Confessions of a Glutton
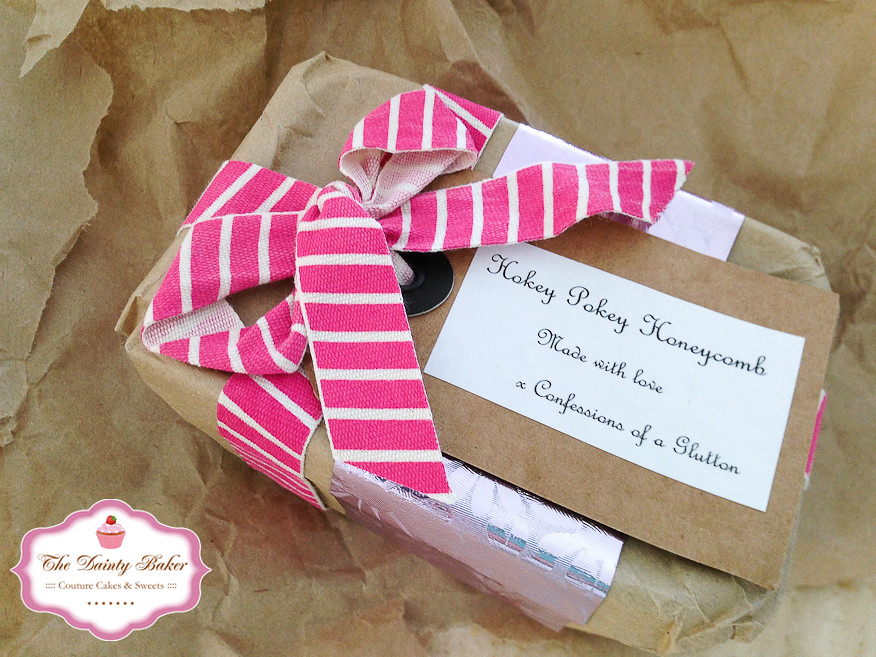
thesweetswap-20

thesweetswap-21

One word - YUM!! I couldnt stop eating this! The honeycomb with the touch of chocolate was irresistible! I ate so much in one go I got a mini ucler on my tongue  .. opps!
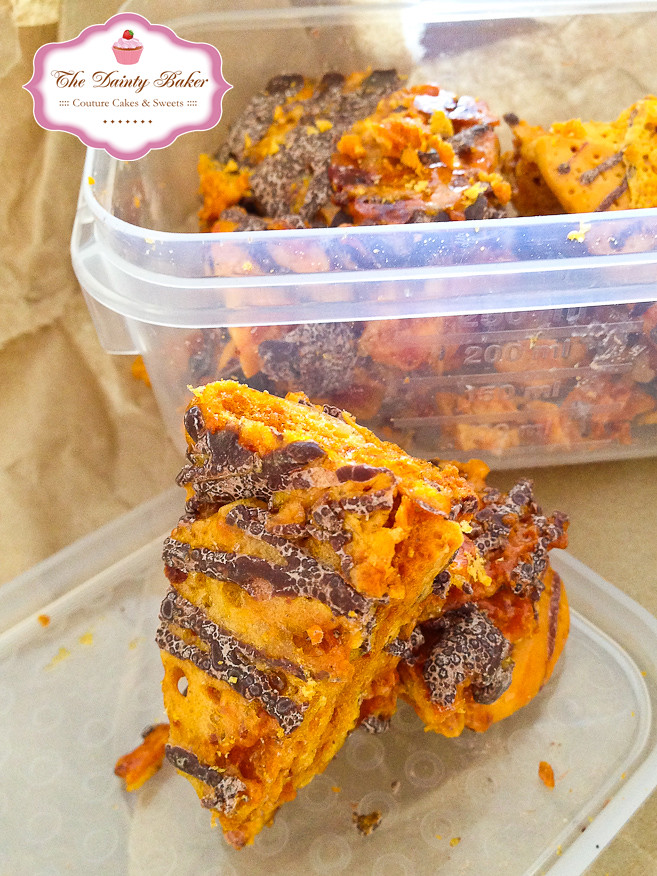
thesweetswap-22

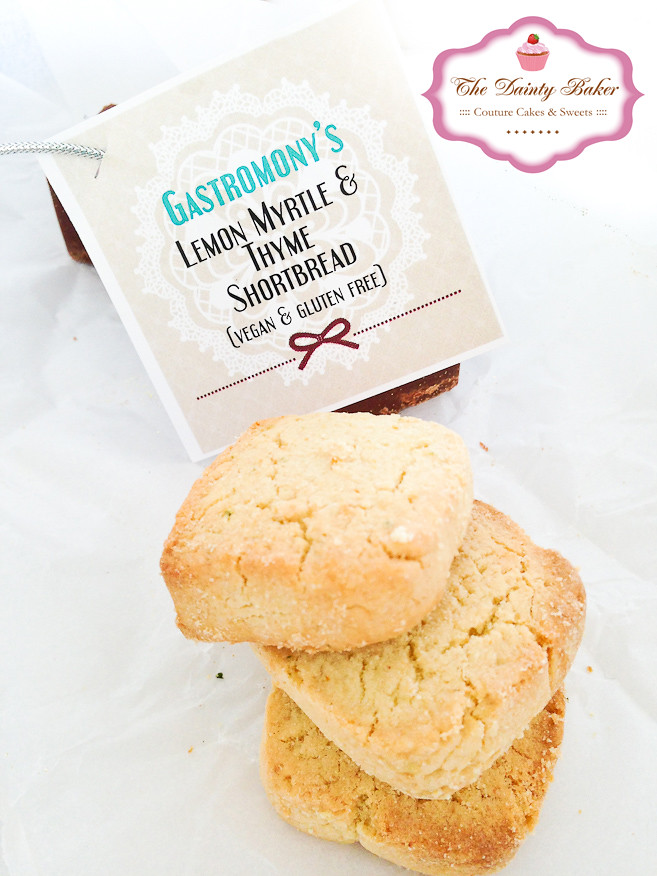
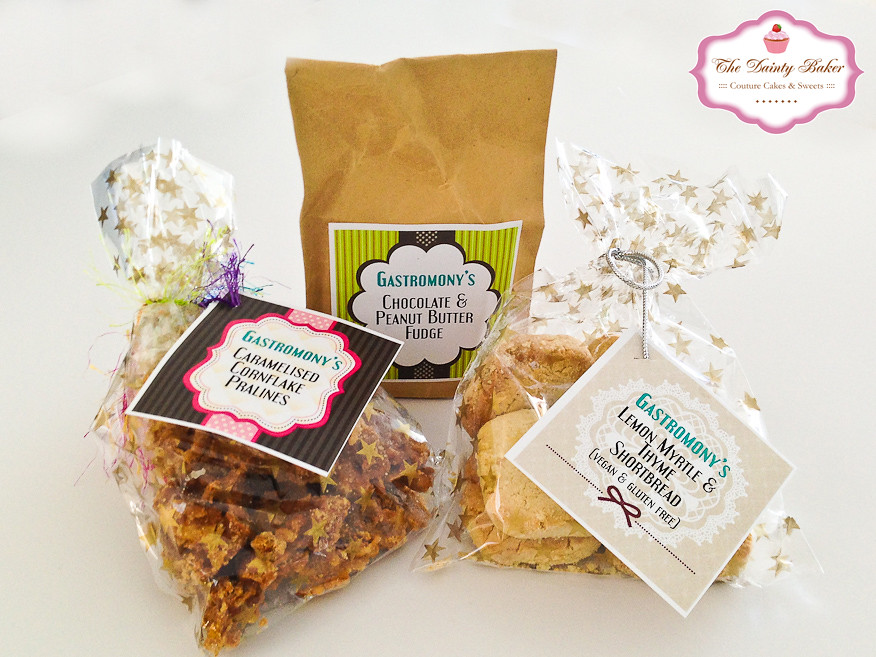
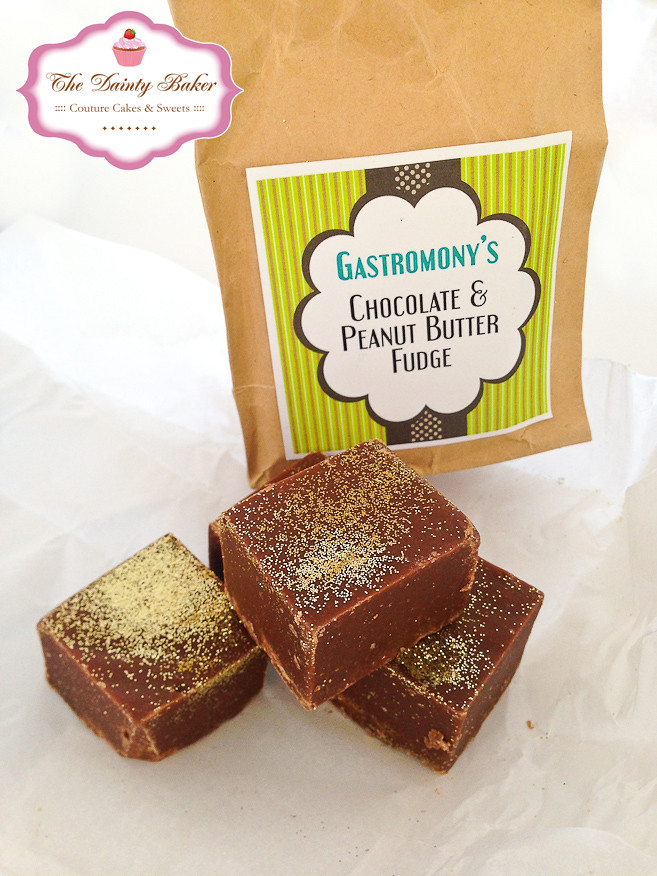
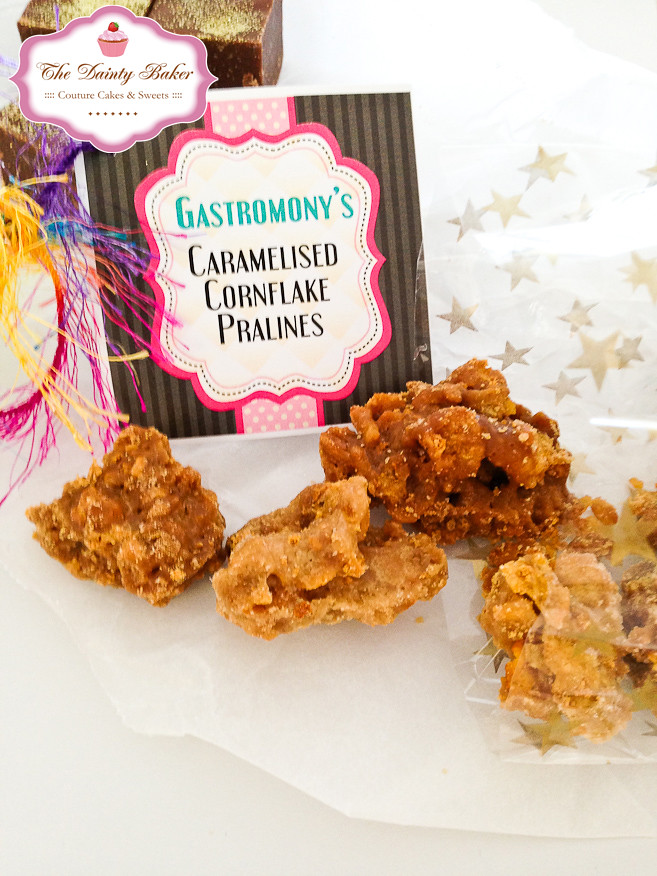
Lemon Myrtle and Thyme shortbread, Peanut Butter Fudge & Caramelised Cornflake Pralines - Monica @ Gastromony
thesweetswap-16

What a trooper!! She made 3 different kinds of goodies!! It was amazing! All the way from Perth too!! I got the parcel on my way out to the city, so had it in the car with me. As I was waiting for the parking to start I decided to dig in and see what had arrived. As I opened the express bag, I found all these goodies wrapped in about a metre of bubble wrap each! lol It was great. I stuck into the shortbread first. OMG it was sooo moreish!! ... an embarrassing thing happened though, as I was stuffing my face with it a pizza boy walked past and saw. He must've been thinking "you fatty bom bom! Sitting in the car on a Friday night stuffing your face with shortbread!" LOL
thesweetswap-18
thesweetswap-19
thesweetswap-23 

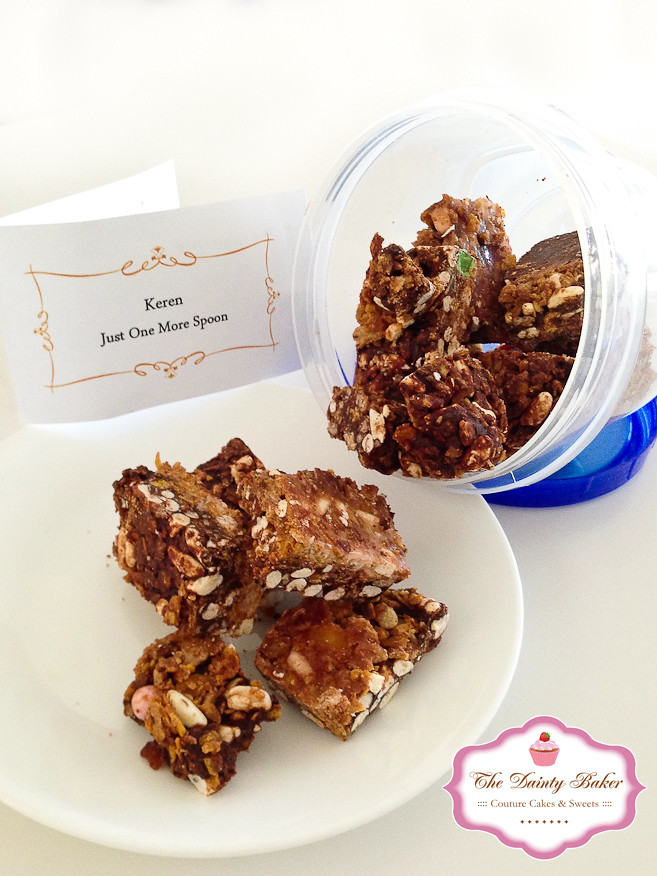
Granola Choc Bites - Keren @ Just one more Spoon

thesweetswap-17
This was really interesting. I have never really tried puffed rice with Haribo lollies in the same combo before! But it was delicious! Mr Wobbles confiscated these from me and ate the whole container himself!

Thank you to Keren, Monica and Cath for all these lovely goodies! It was such a nice feeling to receive something in the post that I knew were especially made for me! :) And thanks to Sara & Amanda for organising The Sweet Swap! Was such a fun experience!


March 29, 2013

Scotch Eggs and Easter

So, before I start I just wanted to share this with you all.. I was settling into bed with my Mac about to write this post when my leg brushed up against Mr Wobbles (dont worry this is pg rated), there was an insane amount of static which felt really weird so we kept "staticing" each other with our arms and legs then we stopped for a little while and when our elbows touched we both got a massive zap! How weird is that??!?! We both were on our Mac's .. wonder if the laptop emits some sort of electricity which then created a current between us hence the zap? Has this happened to anyone else before? Surely cant be good if the laptop is emitting this "free electricity"? ... anyways, sorry enough physics already.

My post today includes a recipe and tips on how to make a quick and easy Easter Cake! I haven't done a recipe in a while so thought this would be a good one to share. I attempted to make Scotch Eggs the other day. What is a Scotch Egg? (Thats what I asked when  Mr Wobbles mentioned it to me) Its an egg thats incased in sausage meat, crumbed and fried. I have never heard of it and have never had it before which was why I decided to make it.


Gourmet Scotch Eggs
Adapted from Taste.com

Ingredients
9 eggs
500 g good quality pork sausages
2 Tbsp Dijon Mustard
2 Tbsp chopped chives
2 tsp thyme leaves
3/4 cup plain flour - salt and pepper to season
100-125 g panko breadcrumbs
30 ml milk
Vegetable oil for deep frying

Method
1. Place 8 eggs in a pot of cold water. Bring to the boil then reduce heat and simmer for 2 mins. Remove from heat and place eggs into iced cold water. Set aside.
2. Remove the sausage meat from the casing. Add herbs and mustard then mix until it comes together evenly (do not over mix). Divide the mix into 8 patties.


3. Carefully peel the eggs, then encase each egg in the meat patty. To do this, just gently push the meat around the egg and cup in hands to secure the meat around the egg. Chill 15 mins

4. In 3 separate wide bowls, place the flour (seasoned with salt and pepper - go easy on the salt), then whisk the remaining egg with the milk in another bowl. The last bowl will have the panko crumbs.
5. Roll the eggs in the flour first, then the egg/milk mixture, lastly the panko crumbs. It's easiest if you have a spoon in the egg/milk mix to help you turn over the egg. Chill for 15 mins.

6. Preheat oven to 170o C.
7. Place enough oil in a deep wok or pan to fill at least half way. Heat the oil up to 190o C, the crumbs should fry instantly. Deep fry the eggs in batches of 2 (you may need to flip it over if the oil doesn't cover the egg entirely) until golden brown. Place on a tray and bake in the oven for another 10 mins or until meat is cooked. When done place on absorbent paper to remove excess oil. Serve warm or cold, with mustard or tomato sauce.

My verdict? - I quite liked it, I think I went a bit heavy on the thyme but it was quite a moorish thing to have. Apparently, mine tasted nothing like a Scotch Egg.. Wobbles dubbed it the gourmet Scotch Egg but I wouldnt know because I haven't had a "proper Scotch Egg" before. Either way, I thought it was really yummy and although its meant to be just a snack thing I could easily have a few of these cut up in a salad for lunch or dinner :)

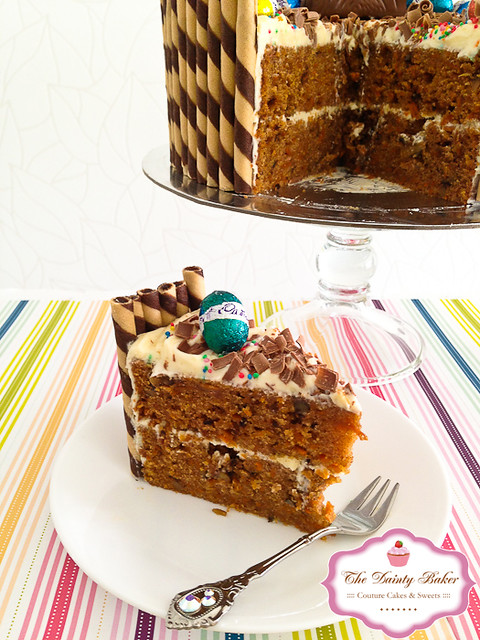
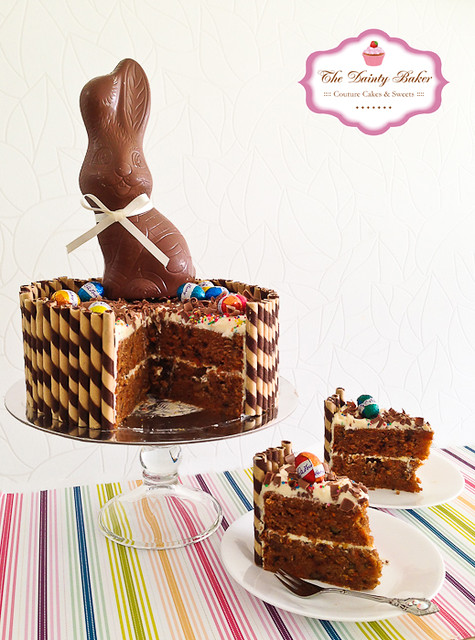
On the sweet side (I couldn't write a Dainty Baker post without something sweet) here is a quick little cute Easter cake I made for this weekend.

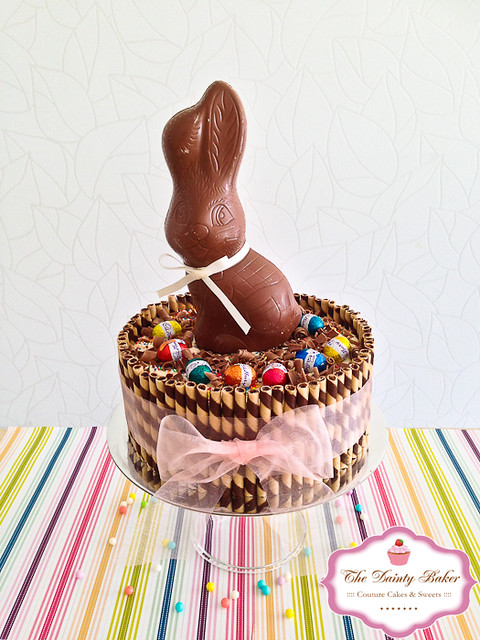
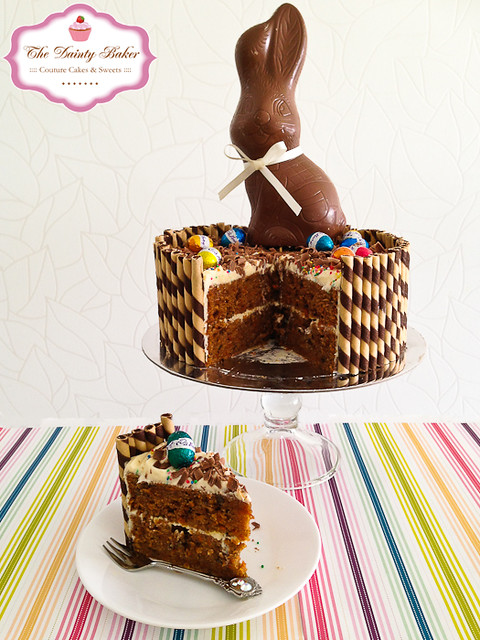
Easter Cake 2013

This is a quick "premade" cake that you can whip up in a few mins (depending if you already have the cakes baked and cooled). Guaranteed to wowsers your family and friends!

Things you will need:
2 x 8 inch cakes (or what ever size you want) baked and cooled. I didn't use a pre-made cake already bought as I baked my moist carrot cake the night before.
Icing/frosting - Cream cheese frosting in this case.
Chocolate wafer cigarettes - you can substitute this with anything pre-made really.. Kit Kat's, chocolate fingers, sponge fingers etc. I used 9 packs of the lunch sized Corinthians wafers approx 72 cigarettes
Chocolate easter eggs
Chocolate easter bunny
Block of chocolate
100's & 1000's
2-3 skewers
Ribbon

Assembly:
1. Just ice your cakes and stack. Then place the wafer cigarettes around the iced cake.

Easter Cake 2013

2. Using a peeler, "peel" curls/shavings of chocolate from the block of chocolate. You need to be gentle and not push too hard.

3. Securing your bunny - Push one skewer into the cake, mark where the top of the cake is. Remove skewer and cut the skewer where the mark is. Use this as a guide to cut 3 more of the same size. Depending on how high your cake is you may need 1-2 skewers. Arrange these in the cake so that they will support the 4 corners of your bunny to sit on. With the remaining skewer, carefully push/twist into the middle of the underside of the bunny. Place a generous dab of icing in the middle of the 4 skewers already in the cake. Then place the bunny with the skewer in it into the cake. The 4 skewers will ensure that the bunny doesn't sink into the cake and the large skewer through the middle will ensure that the bunny doesn't topple over.

4. Scatter the easter eggs and 100s & 1000's over the chocolate shavings.

5. Finish by placing a bow around the whole of the cake and around the bunny's neck.

Easter Cake 2013

Easter Cake 2013

Wishing everyone a CHOCOLATEY, FANTABULOUS & SAFE EASTER!!!

October 30, 2012

Rainbows & Elmo

It was my cousin's baby's 1st birthday this weekend!!

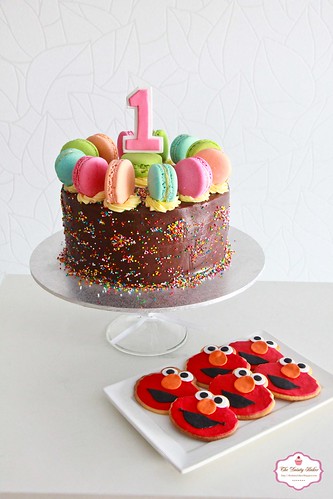
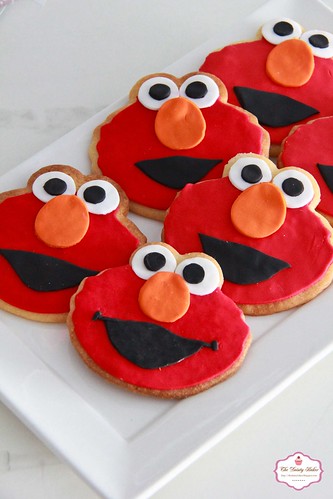
She loves Elmo so her mum asked me to make some lovely Elmo cookies as a gift to give away to the little kiddies who came to her party. She's so adorable and has such a "big" attitude lol!!

Elmo-4

I also made her a double choc sprinkles cake with an assortment of macarons to top it off too. Love the colours it was so bright and pretty which matched the birthday girls personality to the tee.

Rainbow cake-1

Rainbow cake-2

Rainbow cake-4

Although the sprinkles look really fun and pretty... I had such trouble making them stick to my already semi dried ganache. As a result I literally had hundreds and thousands sprinkles all over my kitchen floor lol clean up was such a painn!!!

Elmo-2

I love Elmo!! I've also got Cookie Monster too ... will save him for another occasion me thinks! :)

Also if you haven't already heard, I finally put together my official website to go and visit it click - here. Don't worry though I will still have this blog as well for my random ramblings! :) And just a quick announcement that my last market for the year will be on the 10th November, so make sure you pencil it into your diaries!

Happy Baking!!


April 4, 2012

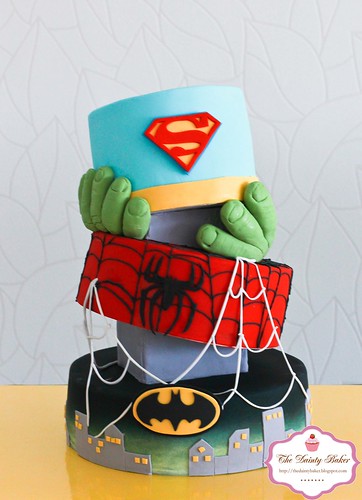
Superhero Cake

Der der der der der der ... der der der der  ...der der der der der derrrrrr BATMAN!!!!

Superohero Cake-1

This is my latest and greatest Superhero Cake!! It was made for dear o' Simon from The Heart Of Food. He was conducting a photography talk at UNSW for the UNSW Photo Club and asked if I would like to be apart of the fun and become one of the sponsors, as well as his subject (my cakes i.e. not me personally lol) for his talk. Honored, I accepted and thus ... this cake was born!
Superohero Cake-3
I was racking my brains to think of what cake I could make that make that would capture the photography crowd. I thought "something cool yet not too girly, something detailed and fun that they could relate to". Lo and behold I came up with this design.
Superohero Cake-5
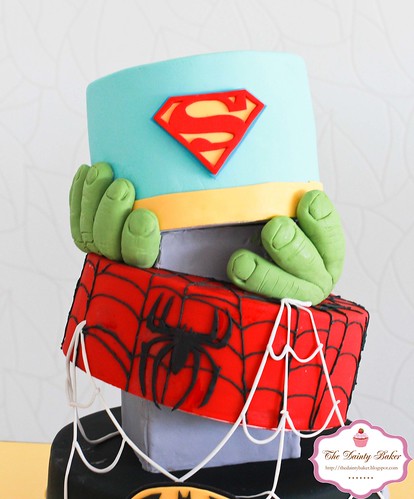
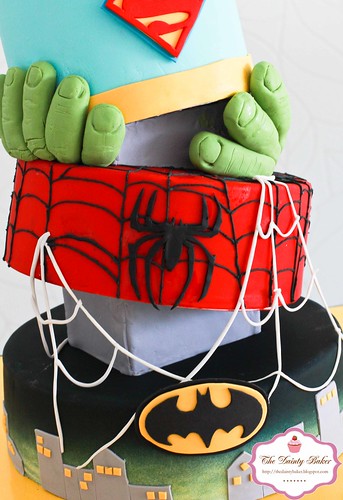
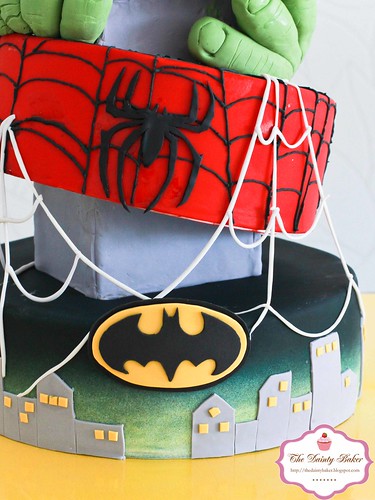
It was a 3 tiered cake with a Superhero theme. Batman, Spiderman, Superman and Hulk were involved. I wanted to add in Ironman too but unfortunately I didnt have enough time! 


The cake was due for 3 pm at the University. I managed to get it done by 2 pm, which I then ran around like a headless chook getting chocolate off my blouse and face and packing the car ready to head to uni. 


The drive there was nerve racking as per usual! I transported this cake fully assembled, unlike the 1 Month Baby cake, which was delivered in different parts. It barely fit into its designated seat on the floor of the car and was ever looming dangerously close to the glove compartment everytime I made a turn!! But like all fairy tales, there was a happy ending and it arrived safely in one piece! Even Hulk hands and Spidey's Web stayed in tack!! :) When I arrived, Simon quickly brought it into the lecture hall and hid it from the photographers who were to attend the talk in the next 10 or so mins (I know I always leave a very small window for myself.. gonna die from a heart attack one of these days).
Superohero Cake-6
Simon's talk was interesting, informative and funny! Although, throughout it I was a bit nervous as I was going to have get up after his talk to intro myself and The Dainty Baker (its been a while since I did public speaking). But this nervousness was overcome by a different panic as I began to think "OMG, my work is on display... theyre gonna see all the little flaws and scrutinise every little detail with their fancy schmancy cameras!" Lol It was only when he brought out my Chinese New Year dummy cake to photograph, and I heard some of them whisper "wows and ahhh's!!" that I eased up a bit.

The grande finale came and I made my way down the lecture hall steps (Ha! I didnt stack it!!) I introduced myself and gave a bit of a spiel of what I do and how I've got to where I am now and Simon brought out the cake. The whole theatre went "wooowww" and then started clapping which I totally was not expecting and I bet I was blushing like a red tomato!! lol
Superohero Cake-2
It was so lovely and great to see such a positive reaction to my work and although I'm not too good with compliments I couldnt help but be a proud little Dainty Baker whilst standing there watching the cake paparazzi's do their thing and enjoying the cake afterwards :)

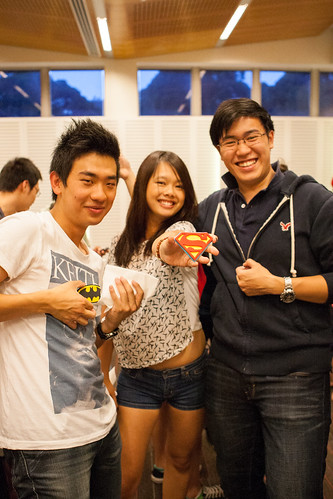
Band of Superheroes
My band of Superheroes - Lol was funny watching everyone call shot gun on the logos

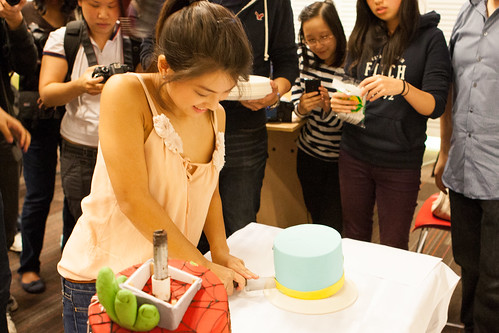
Rhonda Cutting Cake
Although I'm a baker - I really dont like cutting cake lol 

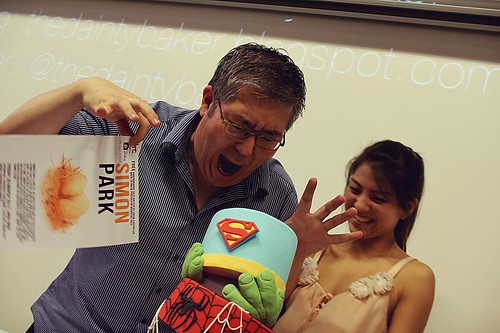
Simon & Me
HULK SMASH! 
Photos Courtesy of UNSW PhotoClub

A big thanks to Simon from The Heart of Food for giving me this opportunity to demonstrate and display my skills and UNSW Photo Club for having me. It was great fun, hope there will be many more to come :)

March 5, 2012

Full Month Party

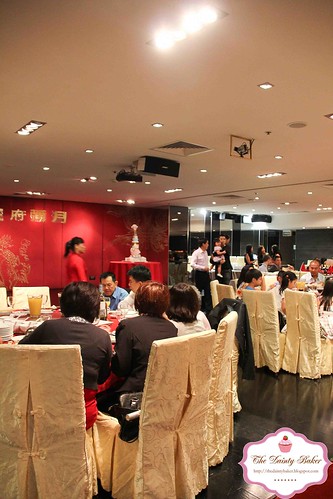
Saturday night past was not only Mardi Gras in Sydney but was also the date of the celebration of my cousins baby girl - Adeline - turning 1 month. We had a massive family and friends gathering, nothing short of 100 something people at Zilver in Haymarket. We were all spoilt with a lavish 10 something course meal, typical of the traditional do's that Asians have for big occasions. Incase, any of you were wondering, in Chinese culture its a really big deal when the baby turns 1 month. A big party is usually held for this occasion and its the time when the new born is introduced 'formally' to all their relatives and friends. My part to play that night was of course, the cake.

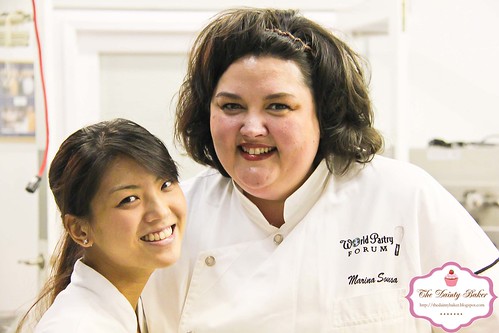
My cousin wanted something 'WOW' so what better cake to make than what I learnt in cake structures class with none other than the Food Network Cake queen Marina Sousa herself.

Full Month Cake-19

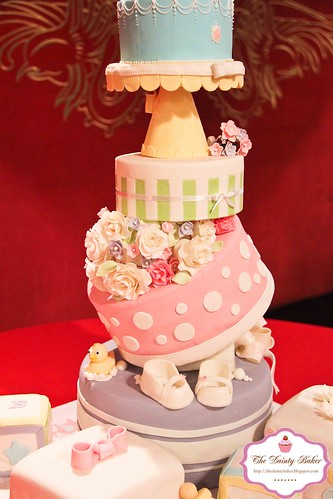
I learnt how to build gravity defying cakes and cakes that tilt and turn at different angles. I had only made a model cake out of complete dummy cakes before so this was a feat to try and do it with real cake.
Full Month Cake-20
This was my first crazy cake, there was soo much fondant on it, it ended up being so heavy!!


Full Month Cake-1

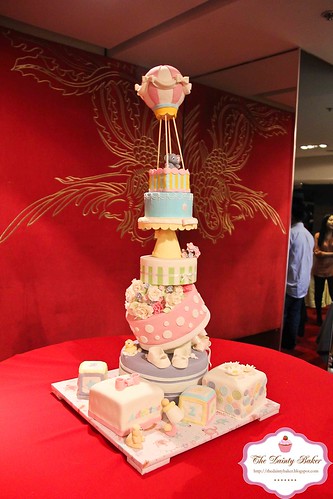
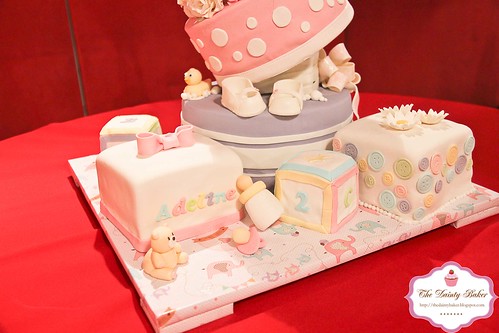
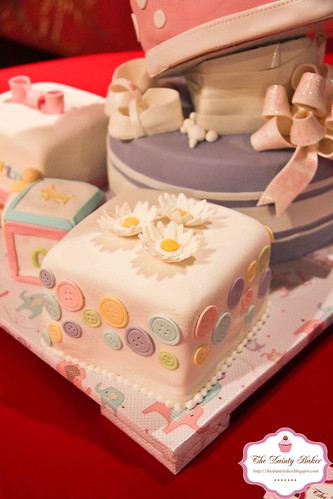
This mammoth cake was specially designed and created for Adeline. It consisted of many tiers... half of which was made from real cake and the other, display cakes. From the pink tier down were real cakes, the flavours we chose were Chocolate with chocolate ganache and Vanilla, lychee and white chocolate.

I must say I was quite a cowboy in my approach. I had a vague idea of what I wanted in my head but when it came around to doing the cake I just went with the flow. First thing I did was rushed to Bunnings and bought all the 'hardware' I would need to build the base of the cake. I felt like Cake Boss whilst assembling it and watching it all come together!

Full Month Cake-3

Full Month Cake-4

I had everything ready and then came the scary part.. transporting the cake. I dont think I will ever get used to anticipation and nerves of cake delivery. Its the most stressful part if you ask me. So many things could go wrong, "what if the cake slides", "what if it falls over or we need to hard break and then the cake will come crashing into the back seat, what if I drop it or trip over whilst walking in my 5 inch heels???" :S

Full Month Cake-5


As the cake was almost a meter tall, I thought it best to be delivered in pieces and assembled when we got there.  In total I managed to break down the cake into 4 parts and delivered in 2 cars. I looked after the more delicate items like the gumpaste booties, teddy and my hot air balloon, whilst my little brother looked after the dummy cake on the cake stand. The rest (that was real cake) was in dads hands. 

Full Month Cake-8
Of course nothing is ever simple, it was pouring down that evening.. which as I'm sure you all know is bad news because fondant cant get wet :/ We looked like retards running from the car to the safety of the steps whilst huddled over the cake parts to make sure they were safe from harms way!

Full Month Cake-9
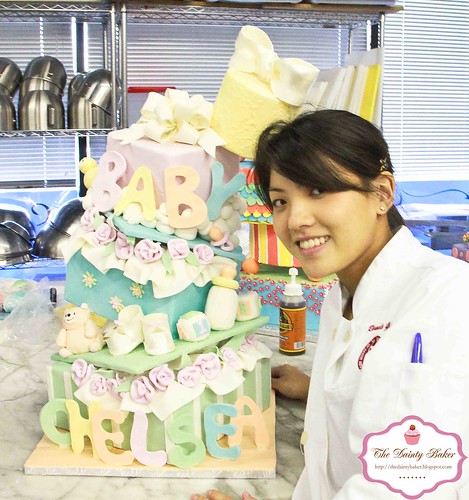
Little Chelsea kept wanting to steal the elephant off the top all she did was point to the cake all night lol

Arriving a little late (all Wobbles fault because he wanted to go home and get changed), almost half the guests were already there, so pressure was on.. I could feel all eyes on me as I got onto the stage to put this thing together. Luckily, the cake came together quickly and nicely and all the decorations looked sooo cute! 
Full Month Cake-12

Full Month Cake-16

The cake standing proud and tall I was able to relax a little.. 'nothing I can do now, just relax and enjoy yourself' was what was going through my head. But I couldnt help myself and kept turning around to look at the cake during dinner because I was afraid for 1, one of the 1000000000 kids that were running around would knock it down, pull it or steal one of the characters lol and for 2, that my worst nightmare would happen and the cake would somehow fall to bits :S Luckily, it was all in my head and the cake stood as it should the whole night and when it came to cutting the cake, everyone (especially me) was sad to see it getting pulled apart. The lychee was a big hit, many people were waiting in line and it was so cute to see all the kiddies call shot gun on the gumpaste figures. I think one of the adult tables stole the bouquet of handmade roses... I certainly didnt see it at the end of the night lol.

Full Month Cake-18


Congratulations and a big thank you to the lovely hosts Rebecca, John and little baby Adeline for a wonderful evening!! xxx


LinkWithin

Related Posts Plugin for WordPress, Blogger...