So what did I make to send to 3 lovely fellow bloggers? .... Homemade Toffifay!! It took me ages to narrow down what I wanted to do ... then another long while to figure out if they would make it in the post to their various destinations! lol!
The story behind my love of Toffifay started during my escapade to the States for my baking course. It was introduced to me by a friend who was also doing exchange. I remember it was in the middle of Times Square, NY when I first tried it - god only knows what hour that was... but I remember that first taste and the gooey chewy caramel encasing a roasted hazelnut (MY FAVOURITE THING IN THE WHOLE WORLD!) It was so amazing and it totally BLEW. MY. MIND.!! A few weeks later in school we were making chocolates with the awesome chocolatier from Switzerland -
Anyways, enough background! Here's the recipe, so spread the word! Toffifay has hit Australia!!!
Homemade Toffifay
Makes approx 100-110 (can't be sure because I kept "tasting" them along the way)
Ingredients
100 hazelnut kernels (probs 150 g - sorry forgot to measure it but it should fill a small bowl)
500 g cream
300 g sugar
100 g glucose
1/2 vanilla bean - seeds scraped
500 g couverture chocolate (can be milk or dark depending on your preference)
Method
1. Roast the hazelnuts for about 15 mins at 160oC. Remove skins (rub between a tea towel or your hands) and leave to cool down.
2. Make your caramel. Place the sugar, glucose and vanilla beans in a heavy based pot. Slowly, melt the sugar - when it is close to being all melted, warm the cream in a microwave and slowly add to the sugar, stirring gently. NOTE - it is important to warm the cream because the sugar goes nuts spits out if you add it 1. cold and 2. too quickly ... dont want anyone getting burnt.
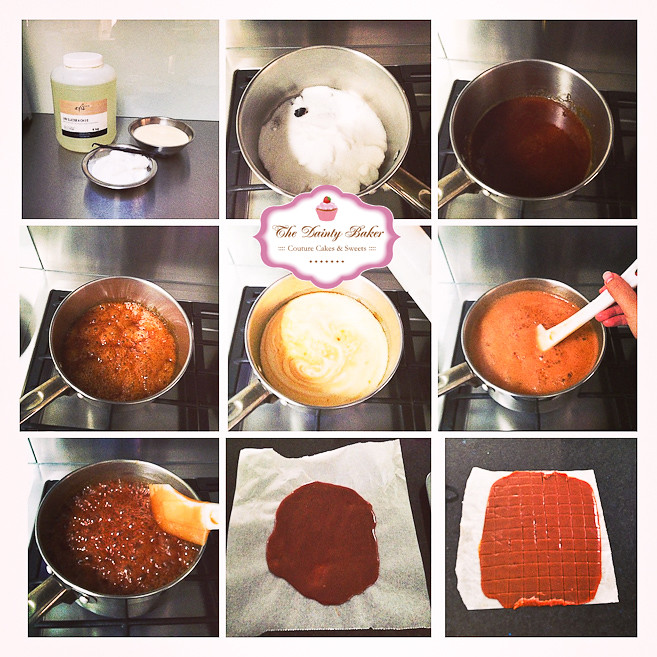
3. Bring the mixture up to 122oC - stiring occasionally.
4. Once it reaches this temperature, pour onto grease proof paper and let it cool down and set.
5. Using an oiled sharp knife, cut the caramel into 2 x 2 cm squares.
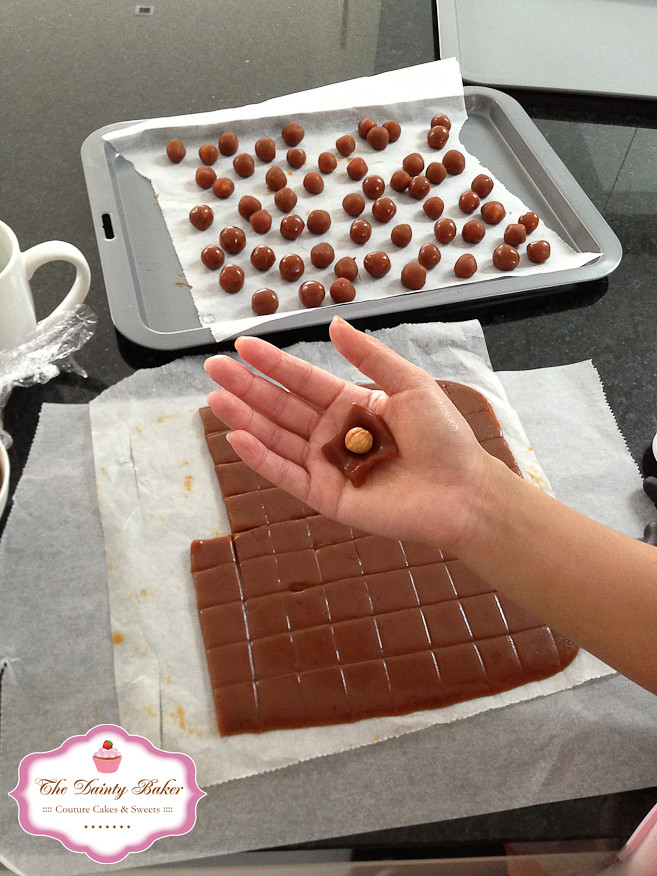
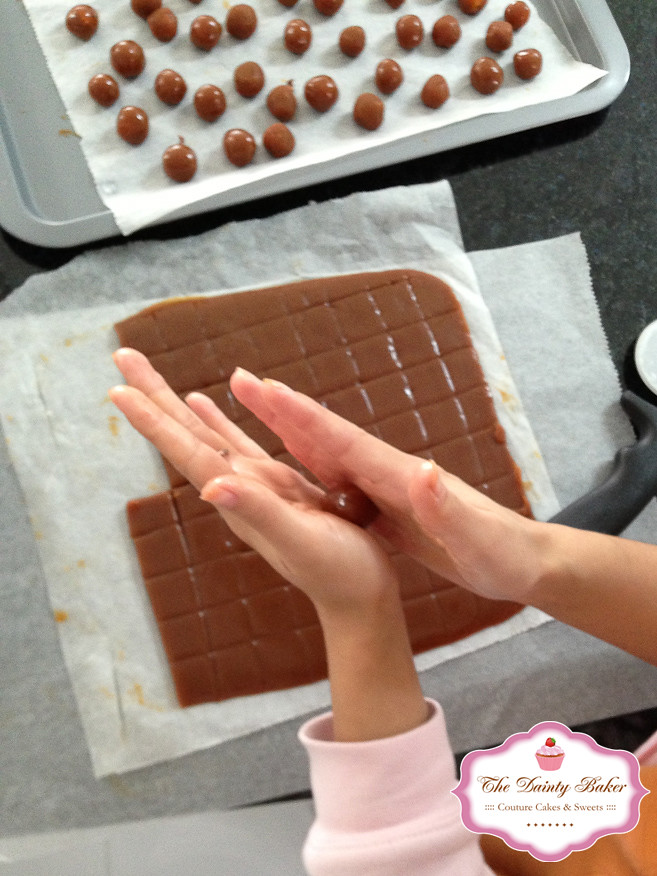
6. The fun part! Take a hazelnut and wrap in the caramel as shown. It should be soft enough to mould around the nut quite easily.
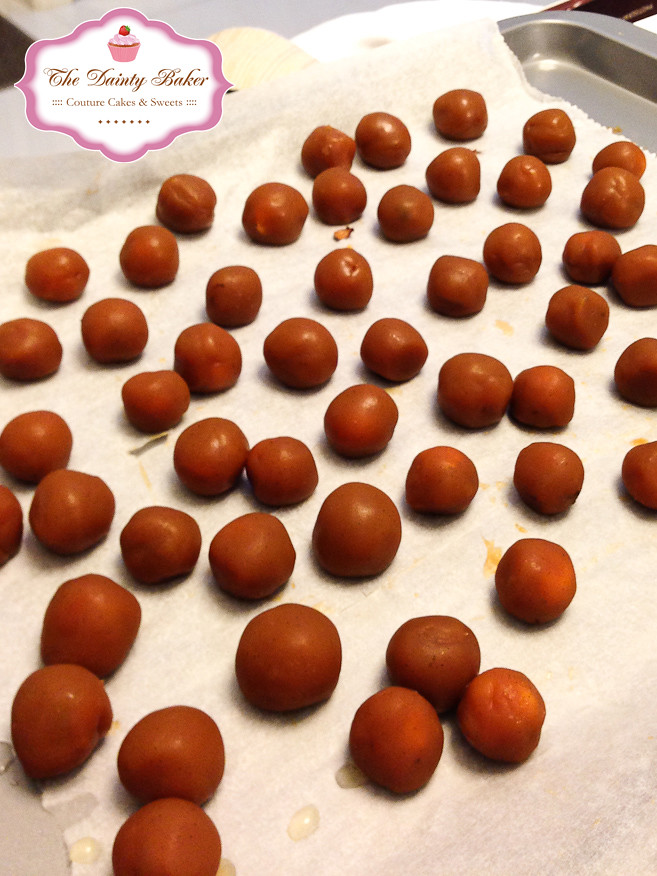
7. Place in the fridge and allow it to harden.
8. Whilst the caramel nuts are in the fridge, temper your chocolate. You can do this several ways: 1. Tabling, 2. Seeding or 3. Direct. I used the tabling method as it creates tempered chocolate at a less viscous liquid state but this requires the use of a marble slab so if you dont have this, seeding will also do. You just need to melt 2/3 of your chocolate to approx 46oC (dark) or 43oC (milk). Then add the remaining chocolate slowly to bring the temp back up to 32oC (dark) or 30oC(milk). You should have tempered chocolate once this is done. Dont forget to maintain the temp at the 30oC mark otherwise it will harden and if you heat it too much it will come out of temper.
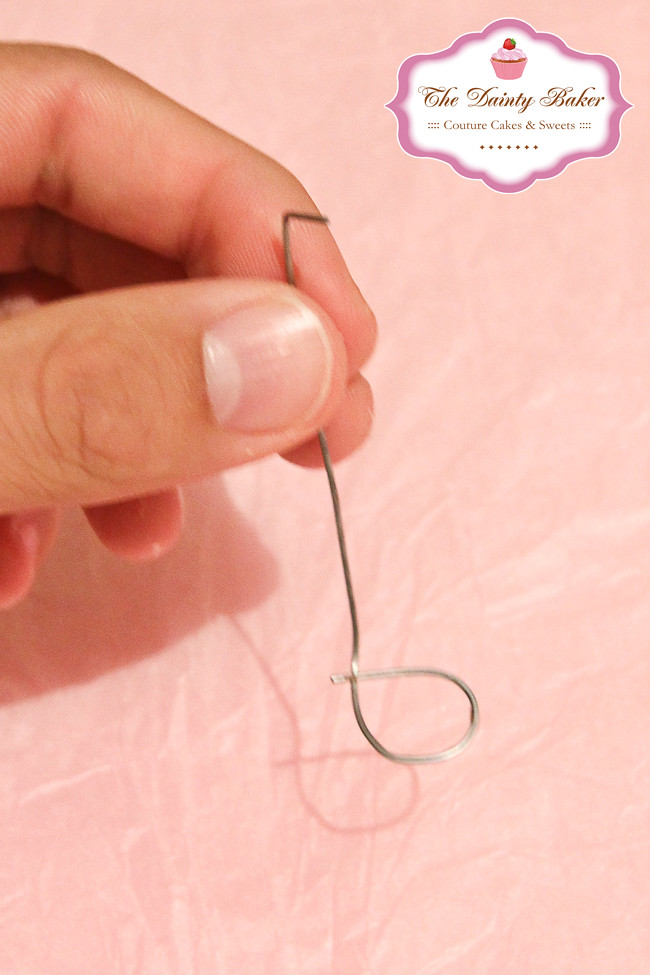
9. Using a round dipping fork (... or if you dont have one like me and cant be bothered to go buy one... you can just make one from wire - worked for me!), drop the caramel nut into the chocolate then using a scooping motion cover the nut in chocolate and lift it out at the same time. To ensure theres not too much excess chocolate on the nut, when it is on the fork you can do an up and down motion just above the chocolate so that the chocolate in the bowl pulls at the chocolate that is already on the nut.
10. Place the chocolate covered nut on a piece of grease proof paper and let the chocolate set.
10. You will need to reheat the chocolate up several times during the dipping process as it will start to set on the edges and might get too thick to dip properly. But make sure when you do this you do not over heat! We did that in school when we made them and wondered why the the chocolate didnt set!! The easiest way to do this is use a metal bowl to dip so that when it gets a little cool you can use a blow torch to the outside of the bowl to heat it gently.
11. Toffifay's are ready for your taste buds!! Go nuts!
The 3 people I sent these to Billy from A Table for Two, Sara from Belly Rumbles and Daisy from Never Too Sweet for Me.
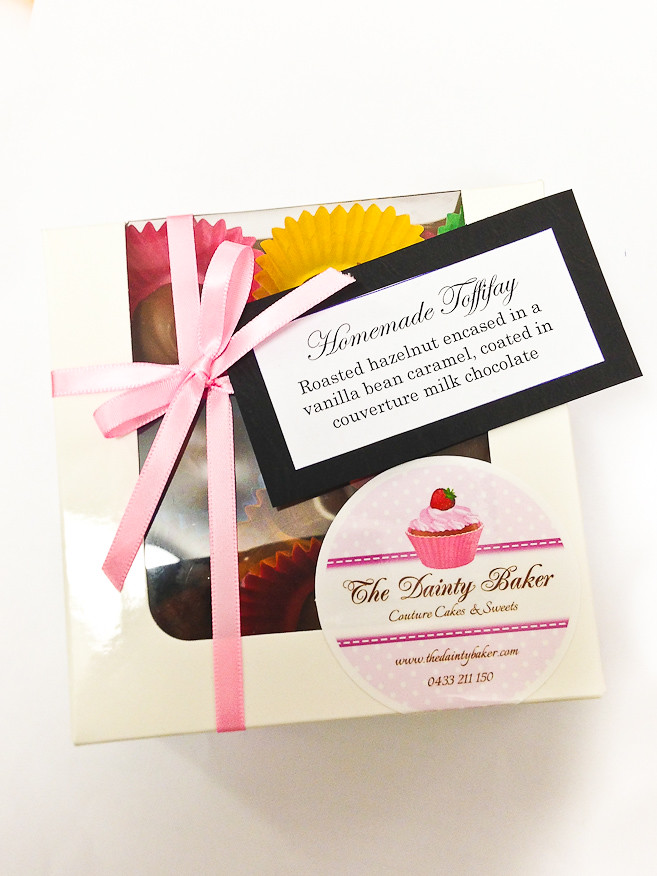
The Packaging - I placed it in one of my macaron boxes and included a little card explaining what these little morsels were :) So glad they made the trip ok!
Now for what I received!
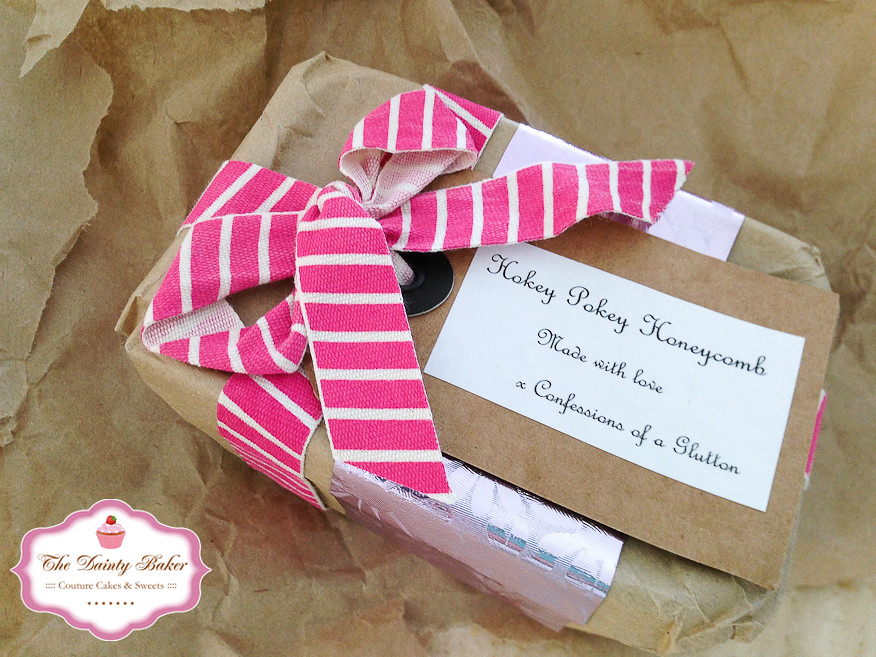
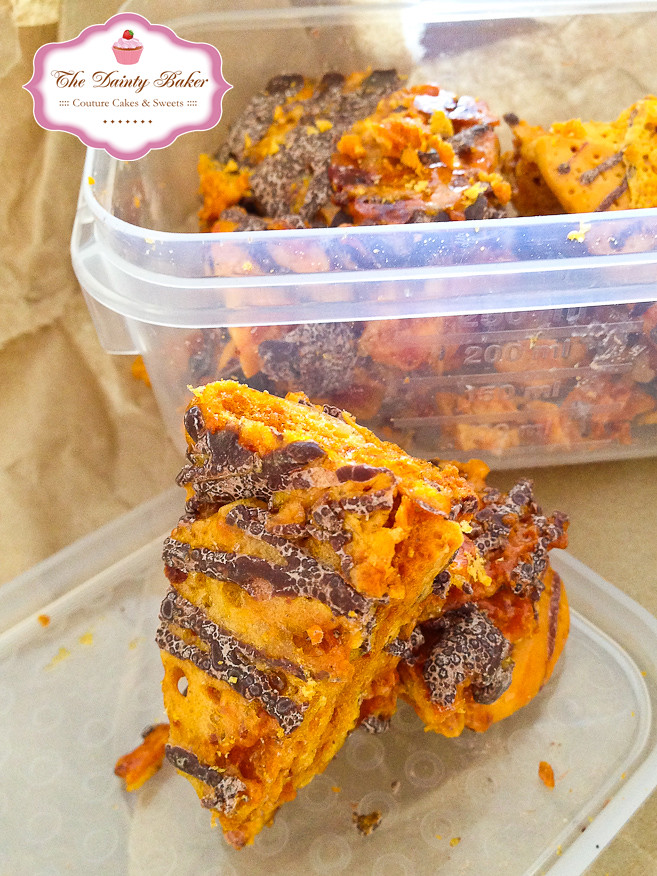
Hokey Pokey Honeycomb - Cath @ Confessions of a Glutton
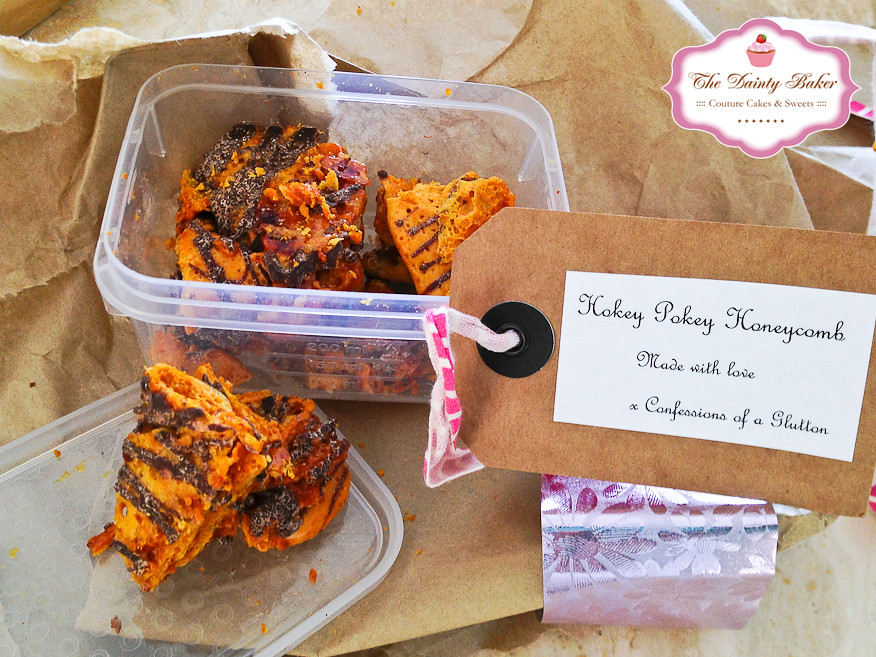
One word - YUM!! I couldnt stop eating this! The honeycomb with the touch of chocolate was irresistible! I ate so much in one go I got a mini ucler on my tongue .. opps!
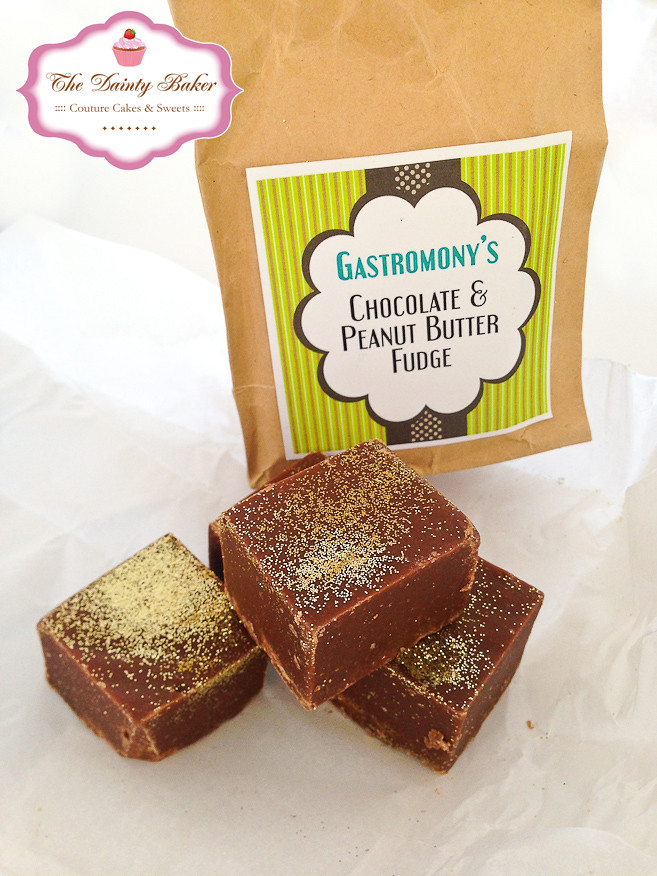
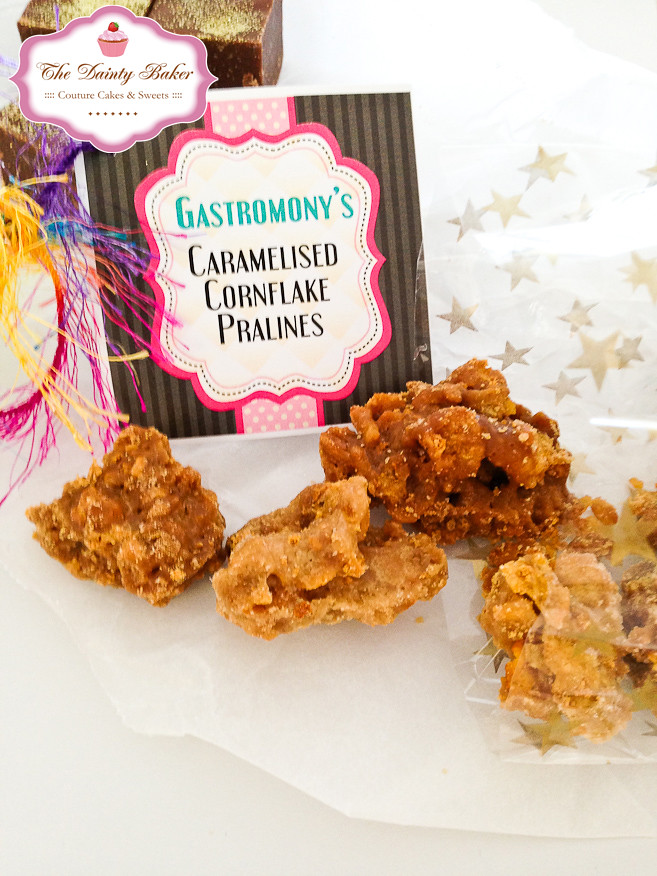
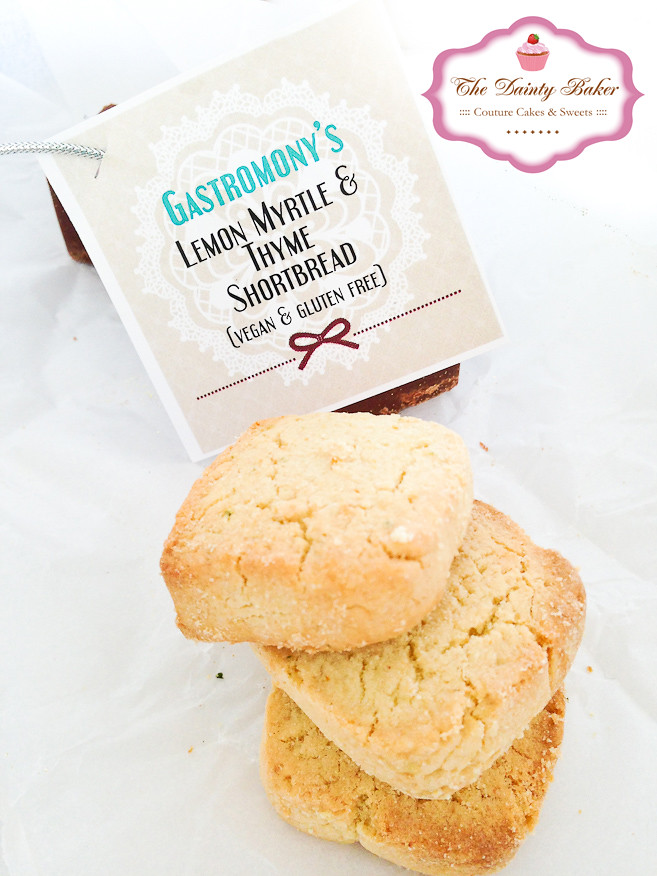
Lemon Myrtle and Thyme shortbread, Peanut Butter Fudge & Caramelised Cornflake Pralines - Monica @ Gastromony
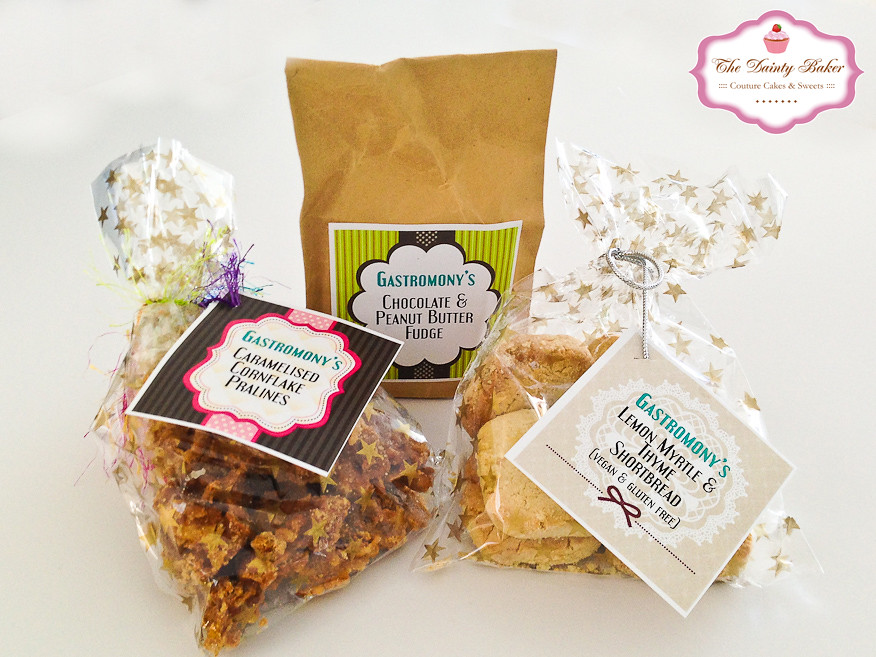
What a trooper!! She made 3 different kinds of goodies!! It was amazing! All the way from Perth too!! I got the parcel on my way out to the city, so had it in the car with me. As I was waiting for the parking to start I decided to dig in and see what had arrived. As I opened the express bag, I found all these goodies wrapped in about a metre of bubble wrap each! lol It was great. I stuck into the shortbread first. OMG it was sooo moreish!! ... an embarrassing thing happened though, as I was stuffing my face with it a pizza boy walked past and saw. He must've been thinking "you fatty bom bom! Sitting in the car on a Friday night stuffing your face with shortbread!" LOL
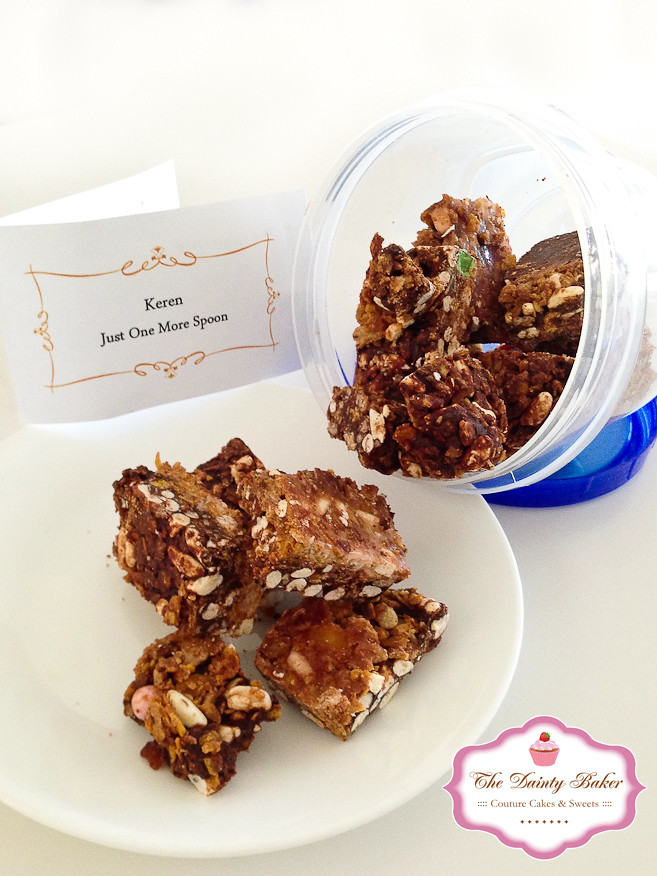
Thank you to Keren, Monica and Cath for all these lovely goodies! It was such a nice feeling to receive something in the post that I knew were especially made for me! :) And thanks to Sara & Amanda for organising The Sweet Swap! Was such a fun experience!
♥

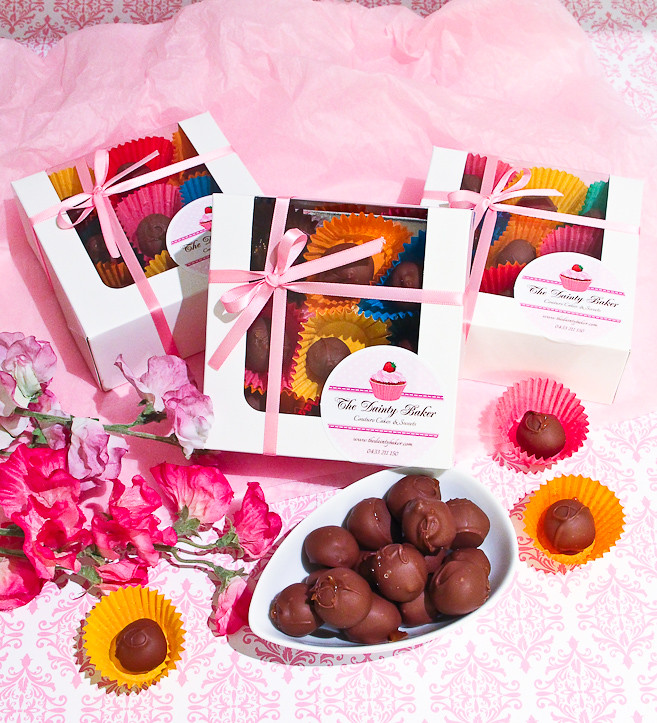






I was really really lucky to try one of these from Sara. And goddamn girl! These are so awesome! Totally stealing this recipe for next time. YUMMO!
ReplyDeleteGiven your talents, I bet that these would have been amazeballs. Love your work :)
ReplyDeleteI managed to nick one from Sara's sample as well and my goodness lady it was amazing! I'd never heard of toffifay before either so I was super curious about what they'd taste like.
ReplyDeleteThese look amazing and so beautifully packaged - Great job!!
ReplyDeleteYour tempering instructions are so useful, i'll be bookmarking this for next time. These look insanely good, I wish I had received them in the post!
ReplyDeleteYour toffifay looks awesome. And I love your homemade dipping fork!
ReplyDeleteWhat a genius idea! Love your work Rhonda!! :D
ReplyDeleteThese are amaze balls!!!!!! So glad I got a box from you, i tried so hard not to eat all at once! Thank you Rhonda, Ketut is very happy with his sweet treats!
ReplyDeletehi Rhonda! I was just drooling over your lovely toffifay on Billy's blog. Excellent story behind it, too; and the packaging is just gorgeous.
ReplyDeleteWow, so much deliciousness! They look great, as well as the sweets you received :)
ReplyDeleteWow, this is gorgeous. I have a goal to learn to temper chocolate by next year's Sweet Swap and I will be sure to check out this post when I start learning. Thanks for stopping by!
ReplyDeleteThese look lovely and delicious! Can't wait to try making them :) and i really like your cute homemade dipping fork :)
ReplyDeletethese look beautiful, i love the technique - wondered how it was done - definitely have to give it a go at some stage
ReplyDeleteJust like Phouc, I also got to try one of these from Sara (oh yeah, and don't tell her but I stole another one when she wasn't looking) There were AWESOME! I am so glad you have now posted the recipe because I can't wait to try them!! Thanks so much for being a part of this years Sweet Swap.
ReplyDeleteMy brother-in-law LOVES Toffifay and, with money being a little tight this year, I am trying to make as many Christmas gifts as I can. This is EXACTLY the kind of recipe I was looking for. Thank you so much for posting it and doing such a great job of making your site so attractive and user friendly. BRAVO!!!
ReplyDelete