December 19, 2011

Merry Christmas!!

Its coming to that time again!!! Christmas!!! I love Christmas, all that fuzzy happiness and good cheer, makes me feel all giddy with the Christmasy atmosphere (and I dont mean just because of all the booze!)

This year will be the first time in almost 8 years that I will actually be home in Australia for the festive season, which I'm actually really excited for!! Just thought with all the travelling and stuff this year, it would be nice to actually spend some time at home with all my close family and friends :)

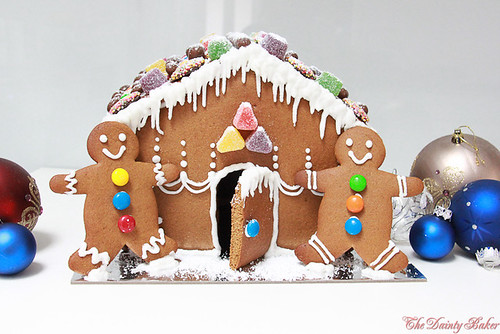
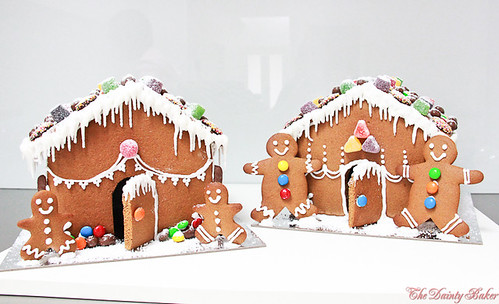
I've been a gingerbread making machine this past week. Never been a huge fan of gingerbread but I couldn't resist because they're so fun to make and look soo sweet and pretty!!

Gingerbread house-18
Gingerbread house-12
Gingerbread House
Adapted from Christmas Cooking by New Woman's Weekly

Ingredients
4 1/2 cups (675 g) self raising flour
3 tsp ground ginger
2 tsp ground cinnamon
1 1/2 tsp ground clove
1 tsp ground nutmeg
185 g butter, chopped
1 cup (220 g) firmly packed dark brown sugar
1/2 cup (180 g) treacle
2 eggs, lightly beaten

Royal Icing
2 egg whites
3 cups (480 g) pure icing sugar/powdered sugar
1/2 tsp cream tartar
1 tsp lemon juice

Tools
35 cm round or square board
paper or cardboard
Gingerbread house-16
Method
1. Rub all the dry ingredients and butter until it resembles bread crumbs. Add wet ingredients and combine until it forms a dough. Refrigerate for an hr.
2. Cut out shapes for the house; Roof (Qty 2) 12cm x 19 rectangles, Sides (Qty 2) 10.5 cm x 16 cm, Front/Back (Qty 2) 16 cm x 18 cm, trim this so that it forms 11 cm high gables.
3. Preheat oven to 170oC.
4. Roll out the dough between baking paper until approx 5 mm thick. Cut out shapes.
5. Bake for 10 to 12 mins, the cookie will feel soft but firm (it hardens as it cools).
6. To make the door and windows get a sharp knife and cut out the shapes whilst the cookie is still warm.

Royal Icing
1. Sift all the powdered sugar and add the rest of the ingredients
2. Using a paddle mix the ingredients at the lowest speed for about 20 to 25 mins. Note : do not overmix or your royal icing will be very hard to pipe. The consistency should be soft but firm and elastic.

Construction
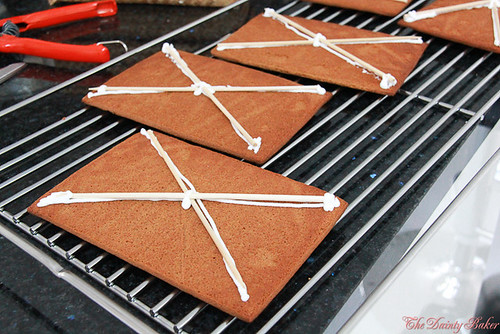
1. You need to do this at least a few hours before building your house, if possible, the day before. Pipe royal icing in an 'x' and place 2 skewers on the roof panels. This will serve as support for your structure.
Gingerbread house-27
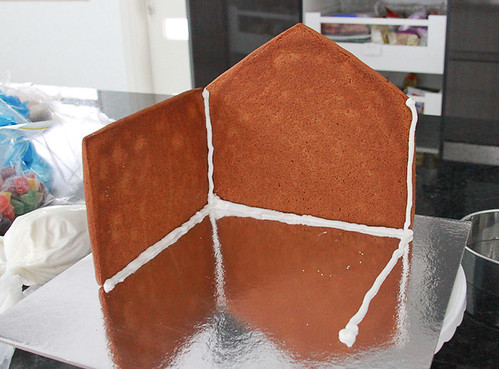
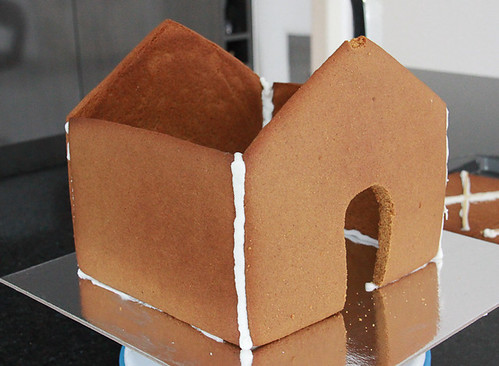
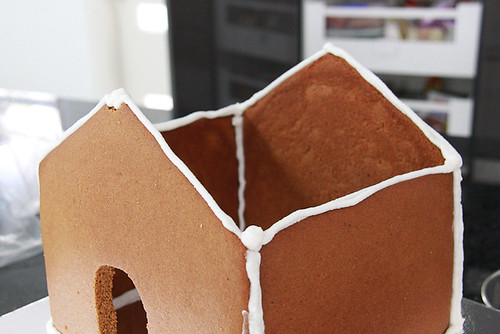
2. Pipe along the edges of the back and one of the side panels and position them together. If it doesnt stay use a prop. Do the same with the other side. Note, how I have piped along the bottom as well.
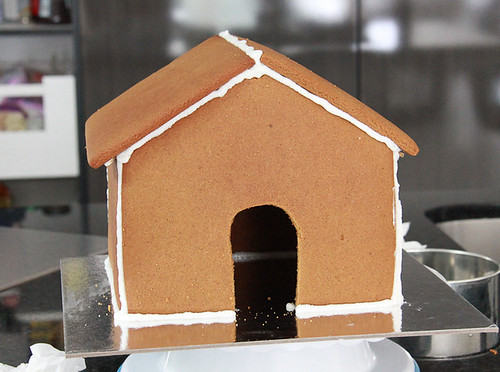
3. Once all the sides are attached, pipe along the top edge and place the roof panels on top.
4. If there is a gap between the side/front and back panels and the roof, fill it in with royal icing.
Gingerbread house-3Gingerbread house-4
Gingerbread house-5Gingerbread house-6
Gingerbread house-7Gingerbread house-8
Looks like my construction roots are still in me... hehehehe
Gingerbread house-20
Gingerbread house-21
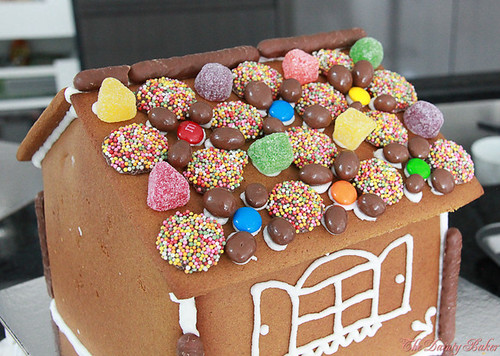
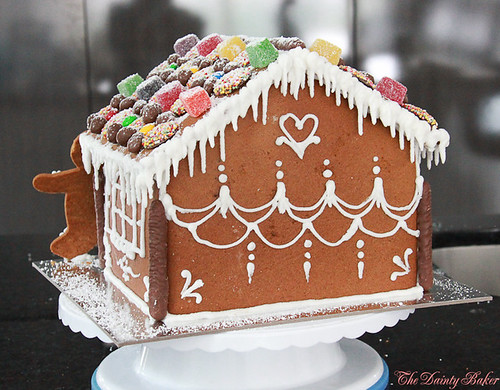
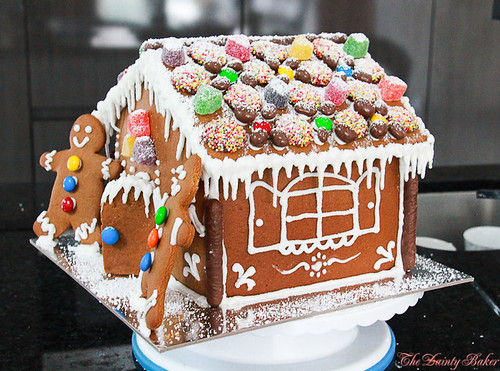
After the house is built (and is standing on its own, without any support), you're ready to decorate!! You can use any sweets you like, chocolate freckles, jubes, chocolate fingers, marshmallows ....

Gingerbread house-9
Gingerbread house-10
Gingerbread house-11
Just a note on the recipe; its not a very strong gingerbready recipe so if you want to make it slightly spicier just add more powdered ginger! Also try swapping dark brown sugar with just brown sugar for a sweeter taste... because the royal icing and chocolate etc isnt bad enough for your teeth.

Gingerbread house-17
Gingerbread house-14
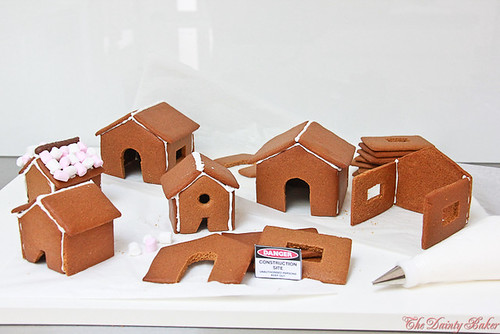
Whilst I was Pinteresting I came across an idea on a website that was UUUUUUBBERRRRR cute!! So I decided to make my own!
Gingerbread house-26
Gingerbread house-22

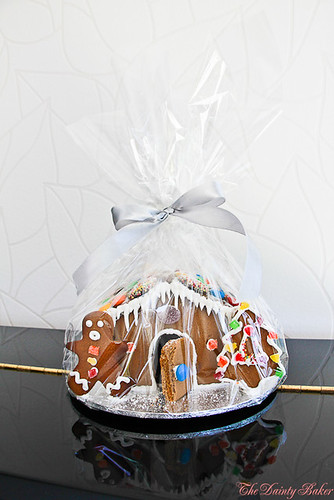
All of these make some really cute gift ideas for Xmas too!! :)

Gingerbread house-28
Gingerbread with your tea?
Gingerbread house-2
Mini Gingerbread house

Sad to say but, this is going to my last post of 2011 :( Its been a massive year, dunno about you guys but I will be welcoming the new year with open arms! :)

And... before I sign off, I just wanted to wish you all a....

Gingerbread house 3
and a Happy New Year!! See you all in 2012!!!

December 6, 2011

How to Assemble a tiered cake

Cake stacking can be pretty scary. So I have decided to share with you what works for me! All you really need is; the right tools and some guts! :)

Cake stacking-12

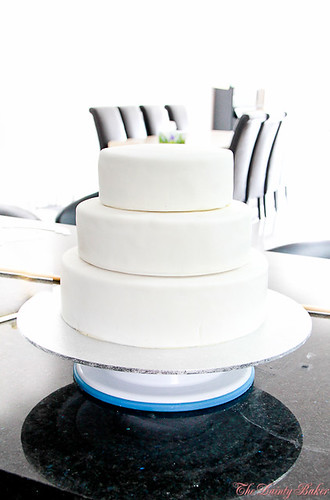
I will show you step by step how I stacked this three tier cake I made for my brothers Valedictory dinner.

Step 1: Prepare all the tools you will need.

Cake stacking-2

This will include:
- Wooden dowels - you can buy these at cake stores, they are usually only 30 cm long (see pic) or you can also go to Bunnings and get their wooden dowels approx 5-8 mm in diameter, these are like 1 m long. Note - you will need 1 longer central dowel to go through the total height of the cake.
- Wood cutters (or something similar to cleanly cut the dowels)
- Buttercream/royal icing
- spatula (always handy)
- mallet (optional)

Step 2: Have your cake tiers prepared and ready to stack.

Cake stacking-1

It is up to you how you want to finish/decorate your cake i.e. buttercream or fondant etc (possiblities are endless), but make sure that each tier except the bottom is sitting on a foam or cardboard cake board. The bottom tier should be placed on a sturdy wooden cake board or surface that wont bend and will take the total weight of the finished cake. Usually this can be achieved by thicker cake boards not necessarily larger.

Step 3: Figuring out how many dowels to use per tier
I like using odd numbers. So for my 10 inch round cake I have got 5 dowels, the 8 inch round I have 3 dowels and obviously there are no dowels in the top tier. I have a central dowel through all the tiers to stop the tiers from sliding.

Honestly, there isnt really a science to how many dowels to use per tier. But I have found that these numbers work and if you are worried about the structural integrity you can always shove a few more dowels in there for piece of mind. The only thing to remember and keep in mind is that no matter how many dowels you use, just make sure that they are even spread so that the load is evenly distributed. Also, I'm being 'Captain Obvious' here but, the lower and larger tiers will need more dowels than the tiers above as it is supporting the weight of those above, just needed to say that. Oh and do not go crazy and put dowels too close to the edge or outside of where the tier on top as 1. it will show when you stack them and 2. its redundant as it isnt supporting anything.

Step 4: Measuring out the dowels
You will need to do this separately for each tier.

Cake stacking-3

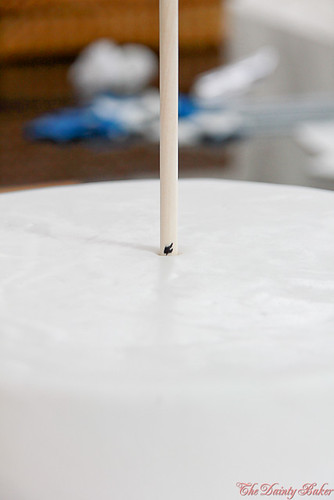
It is important that the middle of the tier will be the main reference point of the height at which you want your tier to be. Therefore, you will need to stick a dowel into the middle of the tier and mark the height as shown below.

Cake stacking-4

Next you will remove the dowel and cut where the line is. Using this cut dowel as your reference, mark the rest of the dowels out the same size. Note always use the original cut dowel to measure and cut the other dowels, this will help you maintain consistency.

Cake stacking-5

When you have finished cutting the desired amount of dowels line them up just to check that they are all the same size. Trust me you do not want to screw this part up or your cake will be the Leaning Tower of Pisa..... bad memories... lol

Cake stacking-6

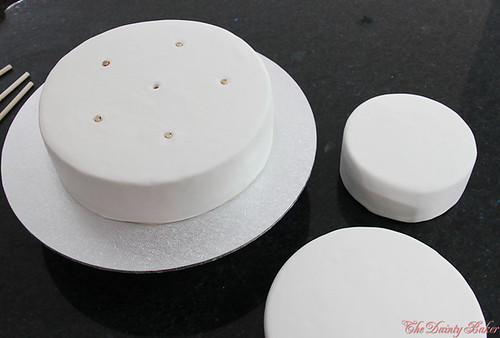
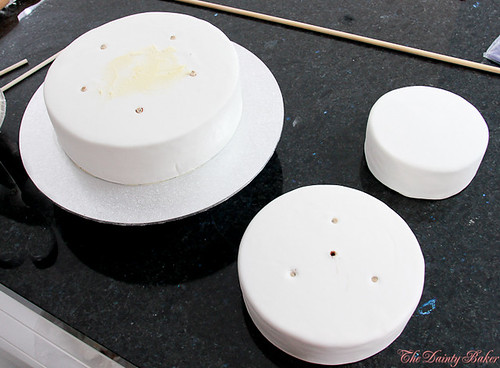
Step 5: Insert all the dowels in their places and get ready to stack them on top of each other.

Cake stacking-7

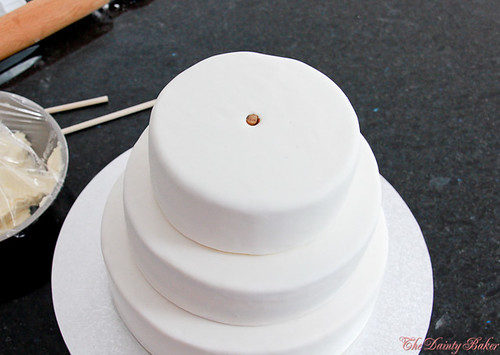
I have obviously left the middle out as this will be where the central dowel goes through. If you are not using a central dowel (not necessary for say 2 tiered cakes) then you need to push a cut dowel through there.

Step 6: Spread some buttercream or royal icing on the tier and stack the tier above ontop with the help of a spatula.

Cake stacking-8

Cake stacking-9

Step 7: Using your longer dowel push through the middle of the stack, if it is too hard to push down you can lightly and carefully hammer it down with a mallet or twist the dowel carefully to puncture through the cake board.

Cake stacking-10

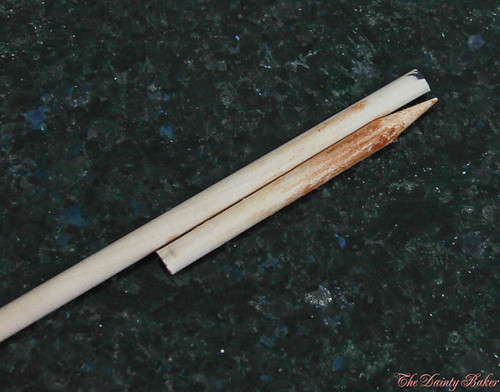
Note: The longer dowels that can be purchased from Bunnings have flat ends unlike the shorter cake dowels. You need this long dowel to have a pointed end so that you can push through the cake tiers and their boards easily. To do this just sharpen the end of the dowel using a pencil sharpener, until you get the end like the cake dowel.

Mark this central dowel as you did with the others, cut it and reinsert the dowel.

Step 8. Voila!! You have your stacked cake!

Cake stacking-14

Cake stacking-13

Now its your turn! :) Good luck and would love to hear how you guys go!

xx

LinkWithin

Related Posts Plugin for WordPress, Blogger...