December 16, 2010

♥ Merry Christmas ♥

I'M BACK!!! (sort of... still haven't got my PC fixed - I am a chronic procrastinator)

For all who have been following my Tweets, Facebook and this blog you'll know that I've had a pretty crazy 2 months, crazy as in bloggers nightmare come true.

1. My home PC blew up - see rant here
2. My work PC also decided to fail me (I swear, I swear it's not me!!! *puppy eyes*)
3. I lost my kitchen - when I say I've lost my kitchen, I mean that "it" (EVERYTHING) has been ripped out so that we can extend it and get a shiny new one in time for the new year! yay! but boo for not being able to bake over the festive season! :'( I had such great grand plans for all the sweets I was gonna make but I guess it'll have to wait until I get a brand spanking new kitchen to devirginise!


See its all gone!!!! ... I do still have my fridge, ohh cold one, how I love thee!!

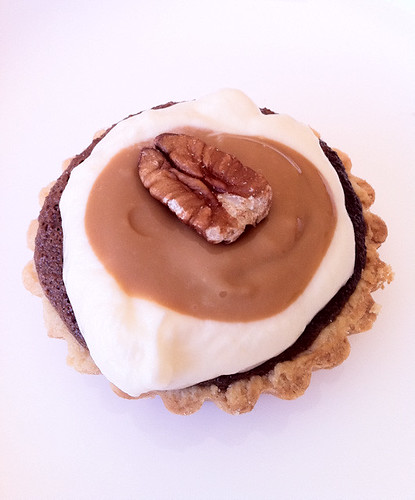
Admist all these set backs, we had the Annual Food Blogger Xmas Picnic about 2 weekends ago and there was just no way I was gonna go empty handed. So, as they say 'where there is a will there's a way' ...coupled with my very persuasive flattery... I invaded and conquered my lovely girlfriend's kitchen (love ya babe!), early in the morning and banged out some lovely Pecan Pies with Brandy Cream & Caramel! mmmMmmm

Christmas 2010-2

Pecan Pies with Brandy Cream & Caramel

Tart shell - Pate Brisee (Short Crust Pastry)
Adapted from Joy of Baking

1 1/4 cups (175 grams) all-purpose flour
1/2 teaspoon salt
1 tablespoon (14 grams) granulated white sugar
1/2 cup (113 grams) unsalted butter, chilled, and cut into 1 inch (2.5 cm) pieces
1/8 to 1/4 cup (30 - 60 ml) ice water

Pecan filling
Adapted from Pecan Pie Recipes

36 individually wrapped Caramels, unwrapped
1/4 cup butter
1/4 cup milk
1 teaspoon bourbon (optional, but highly recommended)
3/4 cup white sugar
3 eggs
1/2 teaspoon vanilla extract
1/4 teaspoon salt
1 cup pecan halves - lightly toasted (shove into an oven at about 200oC until fragrant)

Brandy Cream & Caramel
300ml double cream
1/4 cup brandy (of course you can add more if you want to be naughty... don't think Santa would hold it against u ;P )
1/4 cup sugar
1/2 can Nestle Top & Fill Caramel - don't hold it against me, I didn't have time to make my own caramel - but this stuff is awesome could eat it by the spoonful!!
Extra pecan halves - for decoration

Preheat oven to 180oC, grease 8 mini tart shells or 1 x 9 inch (23cm) tart shell.

For the tart shells
In a food processor, place the flour, salt, and sugar and process until combined.

Add the butter and process until the mixture resembles coarse meal (about 15 seconds).

Pour 1/8 cup (30 ml) water in a slow, steady stream, through the feed tube until the dough just holds together when pinched. If necessary, add more water. Do not process more than 30 seconds.

Turn the dough onto your work surface and gather into a ball. Flatten into a disk, cover with plastic wrap, and refrigerate for 30 minutes to one hour before using. This will chill the butter and relax the gluten in the flour.

After the dough has chilled sufficiently, place on a lightly floured surface. If you are using the large tin then roll dough into a 13 inch (33 cm) circle. (To prevent the pastry from sticking to the counter and to ensure uniform thickness, keep lifting up and turning the pastry a quarter turn as you roll (always roll from the center of the pastry outwards) Fold the dough in half and gently transfer to a 9 inch (23 cm) pie pan. Brush off any excess flour and tuck the overhanging pastry under itself. Use a fork to make a decorative border or else crimp the edges using your fingers. If you are using the mini tart pans, grab a ball of the dough (about a fistful) and press into the shell until uniform in thickness. Use a knife to run along the top to cut off any excess dough, repeat for remaining tart shells. Refrigerate the pastry, covered with plastic wrap, for about 30 minutes before pouring in the filling.

For the filling
On the stovetop over low heat, combine caramels, butter and milk in a small saucepan. Stir frequently until smooth.

Remove caramel mixture from the heat, set aside.

Combine eggs, sugar, vanilla, salt & bourbon (if using) in a large bowl.

Slowly mix in the caramel mixture, so the eggs don’t scramble. Add the pecans.

Pour pecan pie mixture into pie crust.

Bake for 45 to 50 minutes, or until edges of crust is golden brown.

Allow pie to cool so filling stops cooking and firms up.

For the cream
Whip the cream with the sugar & brandy until it stands at soft-medium peaks.

For the caramel
Spoon out the caramel in a bowl and beat until smooth - it comes out kinda congealed.

To Assemble
Remove the tarts from tin as soon as the temperature allows, let the tarts cool completely.

Top with some cream, then caramel and a pecan!

Enjoy!! Bon Appétit! ♥

IMG_8779

IMG_8793

IMG_8795

IMG_8796
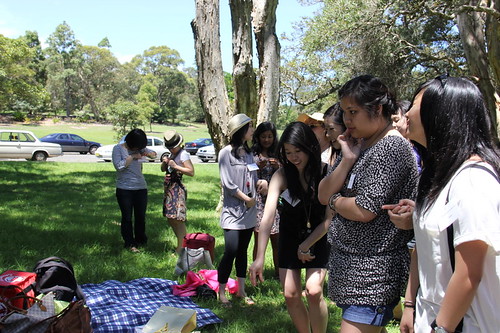
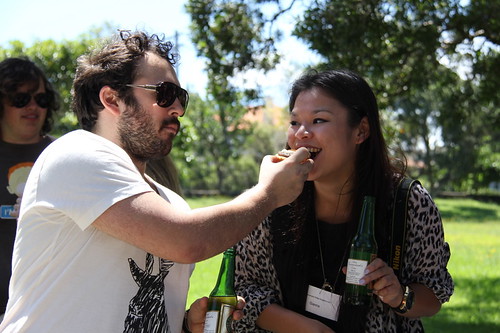
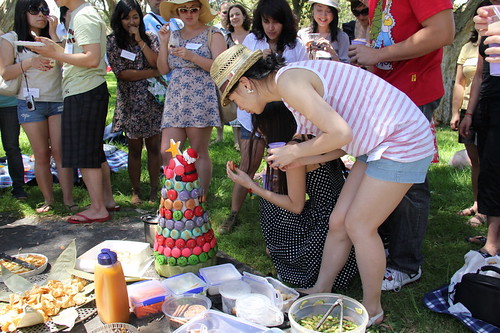
These are all some of the lovely people I got to meet and catchup with at the picnic :)

Also FYI, this will be my last post for the year peeps *sob sob* because as of today I will be flying to HK and South Korea for the biggest eating and shopping experience of my life! muahahahha!!! Will be back in early Jan though, so until then....Have a WONDERFUL Christmas!! Party lots, drink even more, be safe and dont forget to share some Christmas loving!! May God Bless you all and I shall see you in 2011! ;)


Here's a gingerbread house I made a few years earlier... will have to live vicariously through old photos since I can't make new ones right now hehehe

Peace out! xxx

November 24, 2010

Technical Difficulties - Pavlova Alert

Error: The Dainty Baker's desktop has blown up... please replace relevant parts to get system up and running again.

Yes, my computer is f*cked (to put it politely). It just wont turn on.

So.. this means no proper blogging until I figure out what is wrong with it and how to fix it :( ... Exactly what I need before the festive season, isn't it?!

Anyways bear with me... I'll be posting piecemeal (not that I don't do that already) and the photos might be a little raw (because I CANT EDIT!) lol

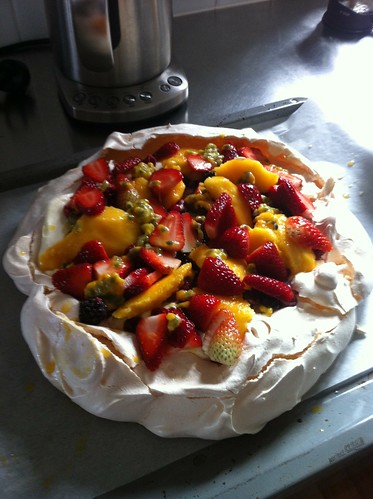
I will however, leave you with a simple yet lovable classic, took the pictures with my iPhone (bless thee)!

Pavlova 1

Pavlova

3 egg whites
175g caster sugar
1 tsp cornflour
white wine vinegar
1 tsp vanilla essence

300 ml Double cream - whipped
1/4 cup sugar
1 teaspoon vanilla essence

To decorate:
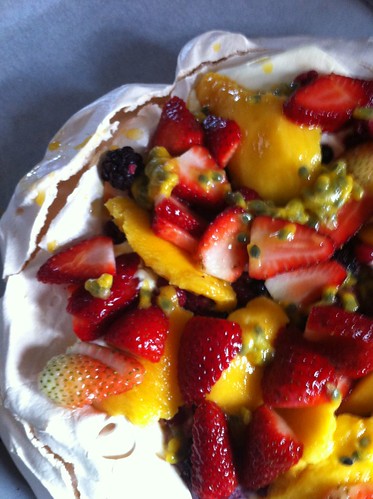
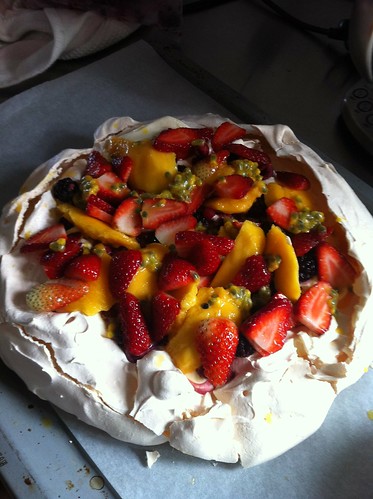
Any fresh fruit of your choosing - I usually use raspberries (you can use defrosted ones), blueberries, passionfruit, strawberries & even mango for a summer twist!

Preheat oven to 150oC. Line a tray with baking paper. You can choose to draw a circle on the underside of the baking paper if you wish, to guide where the meringue should sit but I usually just do it free hand (i.e. pour the meringue on and shape it however I like :P)

Whip egg whites until foamy (bubble bath like). Then add in half the sugar and whip until at soft peak stage (shaving cream like).

Gradually add in the rest of the sugar, corn flour, vinegar and essence and beat until mixture stands at stiff peaks.

Pour onto the baking paper and shape into a nest, bake for 1 hr and then let cool in the oven.

Whip cream together with the essence and sugar, then spread on top of the cooled meringue nest. Finish with toppings of your choice.

Pavlova 4

I love pavlova, its so easy and quick to prepare. The crunch of the outside balances beautifully with the fluffy inside and the fruit takes away the sugary guilt of the meringue ;)

IMG_0322[1]

Pavlova 2

Hope you guys are having a better week than me.

x

p.s. any IT tech heads out there who are willing to gimme a hand.. and maybe even do some charity work hehehe feel free to email me :D

November 12, 2010

Potato & Crab Korokke

I've been having what I call, TWS - Traveller's Withdrawal Symptoms. I miss the anticipation and hype of getting to the airport, walking through the brightly lit duty free stores, getting on a plane (and trying to watch every fricken new movie they have to offer), then finally arriving with a buzzing excitement, in a completely new country, where I just want to immerse myself in the people, culture and atmosphere. Every bone in my body aches for it, oh how I love to travel!!

Potato & Crab Croquette-6

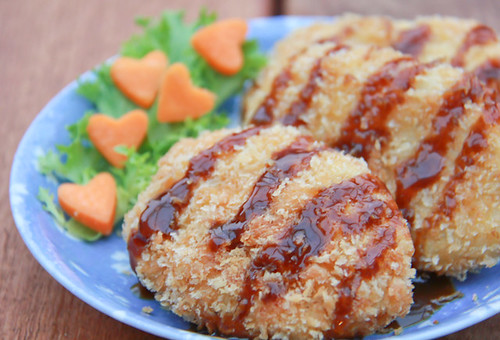
So, in the midst of my TWS, I decided to replicate a dear favourite.... Korokke (Japanese version of croquettes)!!! The story behind these deep fried golden nuggets of yumminess started last year... I went to visit my gf who was studying in Osaka at the time. I spent a good 3 weeks in Japan and I got so hooked on these little babies! I had to have my fix nearly everyday!! It was great because you could just walk to the nearest Japanese convenient store (which are WAYYY cooler than the convenient stores we have here I must admit) and pick some up, along with all the cool Glico snacks and drinks!!

Potato & Crab Croquette-2
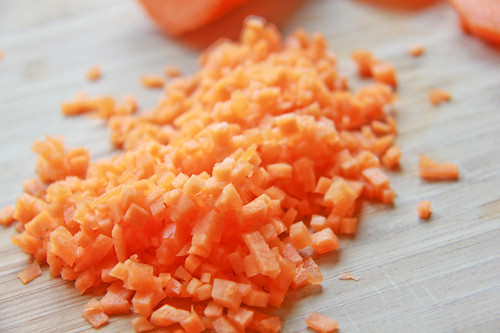
I had to share with you all my knife skills.....was thoroughly impressed and surprised with myself hehehe

Potato & Crab Croquette-3
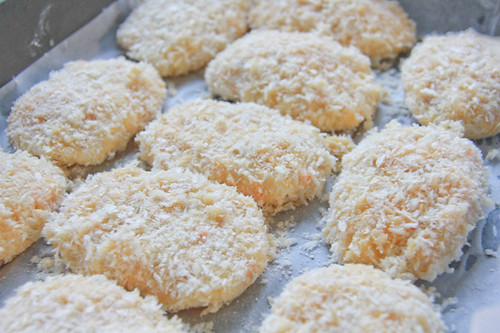
Coated potato ovals

Potato & Crab Croquette-4
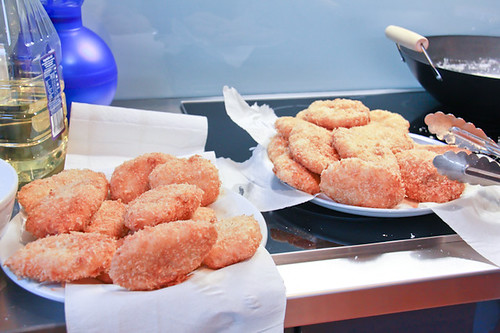
Freshly fried Potato & Crab Korokke

Potato & Crab Croquette-5
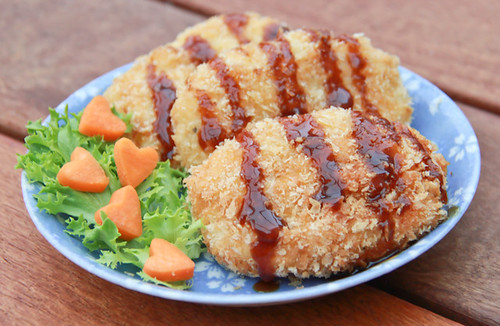
Oishii!!

Potato & Crab Korokke
Adapted from About.com - makes about 30 x 8 cm long oval korokkes

12 medium potatoes
2 x 170 g can crab meat
1 small carrot, finely diced
1/2 onion, finely chopped
1/2 x 125g can of whole corn kernels
salt & pepper to season
vegetable oil for frying
4 eggs - lightly whisked
flour and panko (breadcrumbs) for coating

Peel and cut potatoes into medium chunks. Boil potatoes until soften. Drain and mash potatoes while they are hot.

Add onions, carrot, corn & crab meat to the mash and mix well. Season with salt & pepper.

Scoop a heaped tablespoon of the potato mixture into the palm of your hand and shape into a flat oval shape similar to hashbrowns. Repeat with remaining potato mixture until they are all shaped.

To coat with crumbs:
Pat the shaped potato with flour, then dip into egg then coat with panko.
Tip: To make this process easier and mess free, line up the flour, eggs and panko (in that order) in separate bowls and have a tray ready at the end of this line to put the korokke on.

Once all the potato ovals have been coated, refrigerate over night or place into the freezer until firm. This makes handling easier as they won't fall to bits when you try to pick them up.

Heat the oil in a large wok. The oil is hot enough when you put a little bit of the panko in and it starts to bubble. Once the oil reaches this stage slowly slide in the korokke one by one, don't overcrowd the wok (depending on the size of your wok, you can fry 3-4 at the same time). Don't fiddle too much with the korokke but turn them over once in a while to get an even goldenness. They will be ready when golden all over.

Remove the korokke from the wok and place onto an absorbent paper towel.

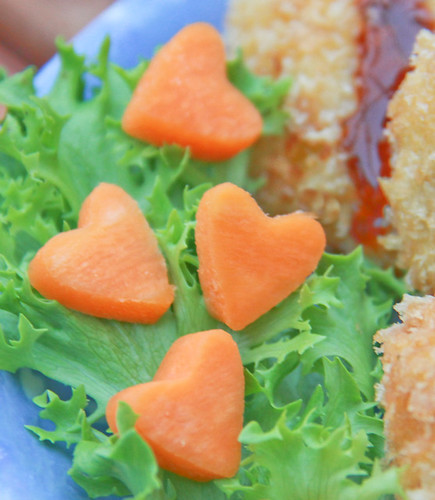
Serve with Takoyaki sauce (sort of like a bbq sauce), you can get this from Asian grocery stores or from Tokyo Mart in Northbridge Plaza.

Potato & Crab Croquette-7

Enjoy!! ♥

LinkWithin

Related Posts Plugin for WordPress, Blogger...