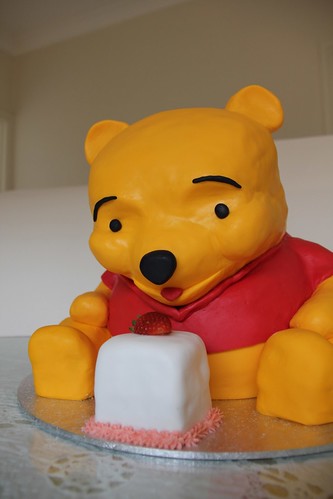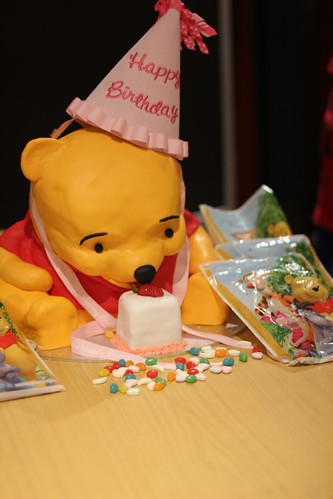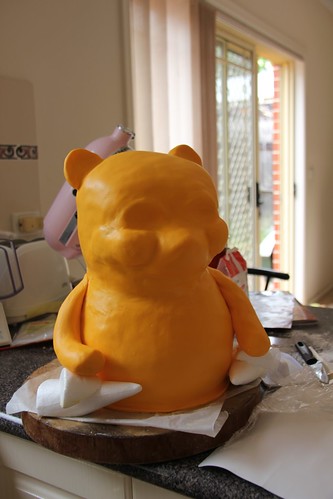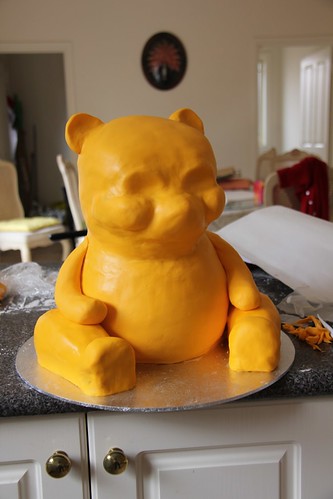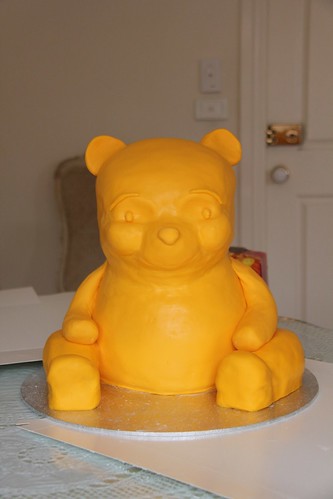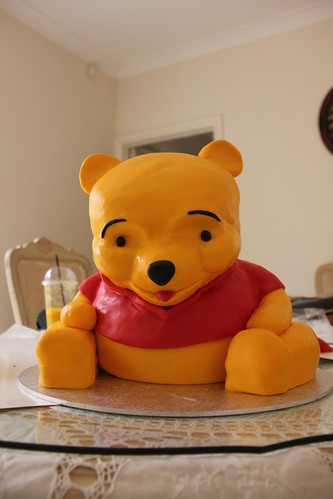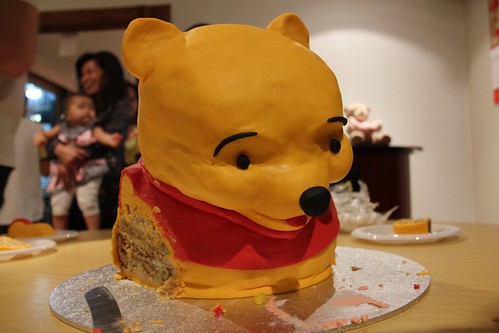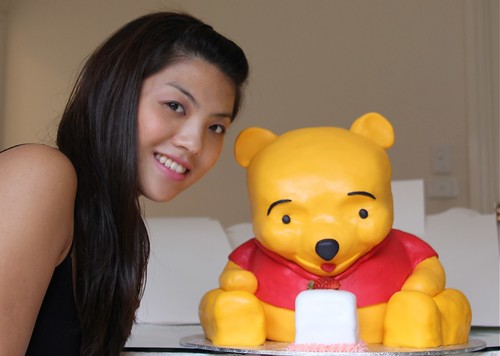
Originally, he had requested a Butterscotch Souffle but because I had to make the Winnie the Pooh cake for the same weekend and the logistics of delivering this cake (i.e. the souffle would become a flattened mess by the time he got it) I suggested a cake based off the butterscotch flavours instead.
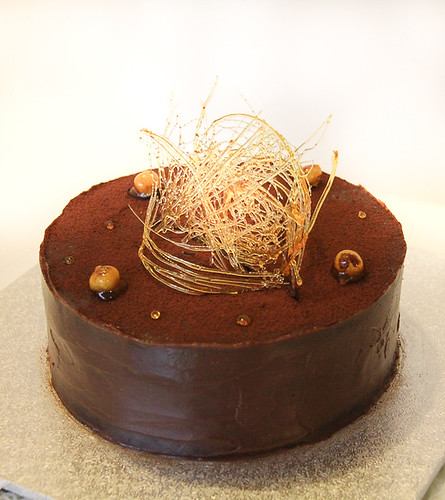
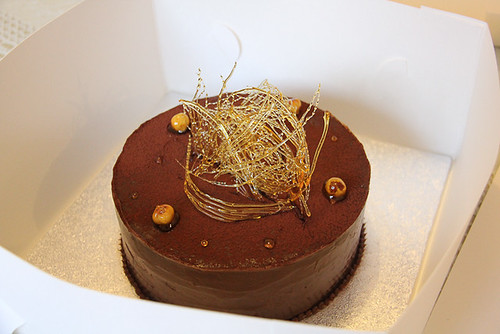
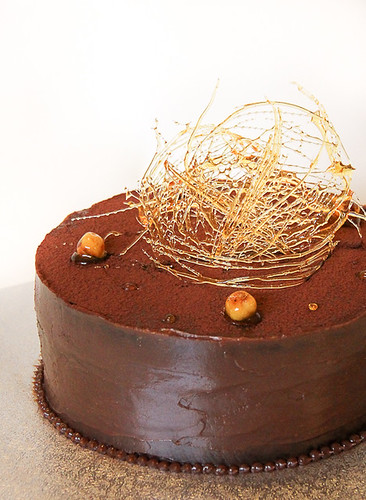
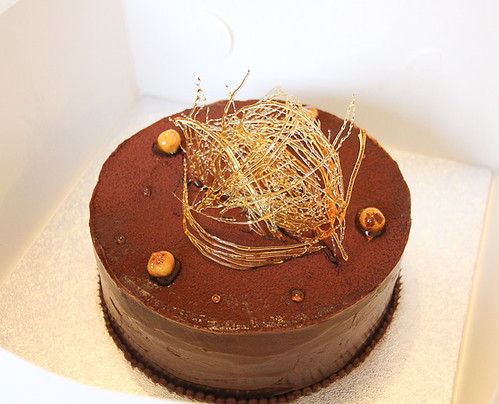
Initally, I was going to use a mascarpone based frosting with swirls of butterscotch sauce layered in between the cake but because of the heat, the cake layers were slipping and sliding. In the end, I opted for a Swiss Butterscotch Buttercream and Caramel Ganache for the frosting between layers and Caramel Ganache to cover the outside of the cake. The cake was then decorated with what I like to call my 'Sugar Centrepiece' aka toffee strands lol and candied hazelnuts aka toffee coated roasted hazelnuts.
Chocolate & Butterscotch Cake
Butterscotch schapps
Cocoa powder
Baking paper
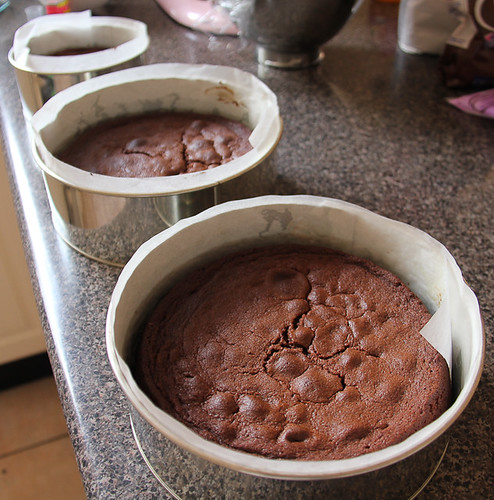
Chocolate Cake
Adapted from The Australian Women's Weekly - Wicked
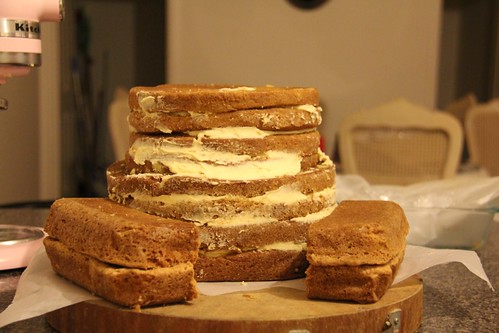
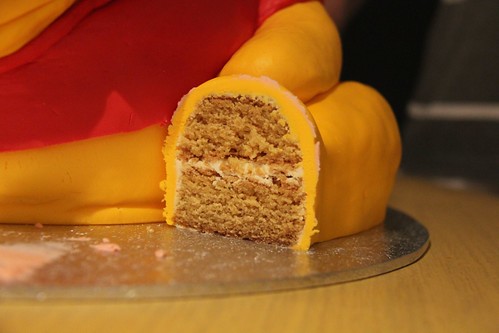
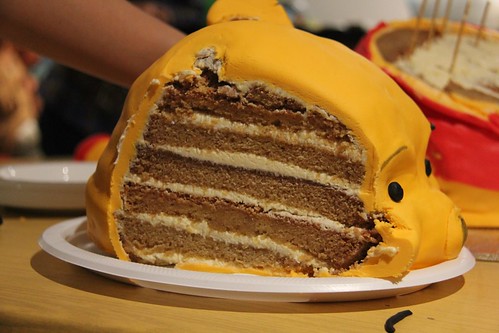
I doubled this recipe so I could get a higher cake so in total I had 4 cake layers.
1/4 cup (25g) cocoa powder
2 Tsp instant coffee (optional)
250g butter, softened
1 cup (200g) firmly packed brown sugar
2 eggs
1 Tbsp golden syrup
1 ¼ cups(185 g) self raising flour
½ cup (125ml) milk
Preheat oven to 180oC. Grease a 20 cm round cake pan.
Sift cocoa into a large bowl. Then add all other ingredients and mix on a low speed until combined. Increase speed to medium and continue to mix until batter has changed to a lighter colour (see below).
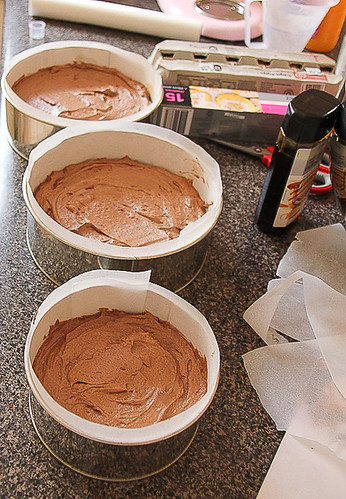
Pour mixture into prepared tin and bake for about 1 hour or until it springs back to the touch.
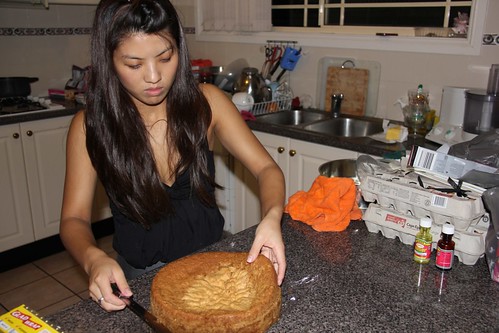
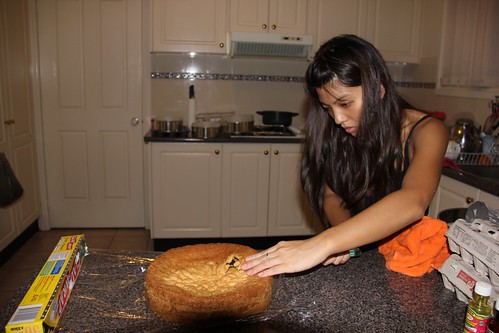
Let cake cool and cut in half with a serrated knife.
Swiss Meringue Butterscotch Buttercream
Adapted from The Caked Crusader
4 egg whites
250g caster sugar
250g unsalted butter, at room temperature
3-4 Tbsp Butterscotch schnapps (obviously if you want
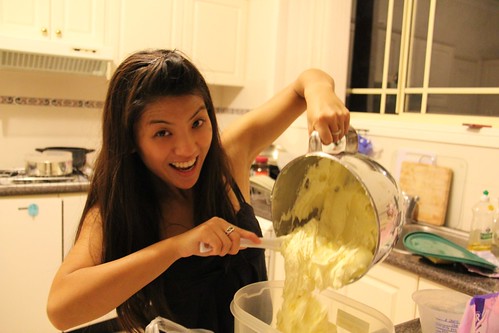
Place the egg whites and sugar in a bowl over a pan of simmering water. Stir constantly to prevent the egg from cooking.
After 5-10 minutes, when the sugar has dissolved (when you cannot see any crystals on the back of the spoon), remove the bowl from the pan of simmering water and whisk until the meringue has puffed up and the mixture has cooled down.
Add butter and schnapps and keep beating until smooth, light and fluffy. It will look curdled and gross at first but just keep beating.
Caramel Ganache
1 x 220 g Cadbury Caramello Block
100 g thickened cream
Melt both chocolate and cream in a pot and mix until smooth.
Toffee & Candied Hazelnuts
100g sugar
1/4 cup sugar
Hazelnuts
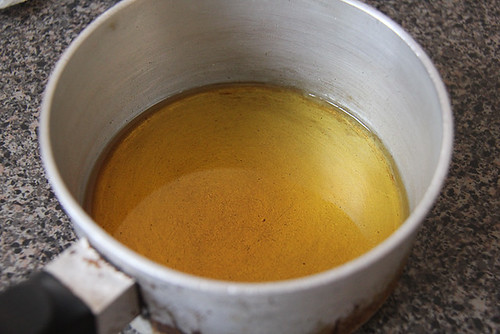
Bring sugar to the boil in a pot and stir gently until completely dissolved.
Turn down heat and let simmer until the caramel starts to change in colour - remove from heat immediately. You might need to brush down the sides with a bit of water as it is simmering to stop the syrup thats splashed on the sides crystallising the rest of the syrup,, turning the rest of the mixture into a crunchy mass... but I found that with the heat low enough I didnt really need to do this as the syrup didnt splatter on the sides too much.
Tip: you can have a bowl of iced water handy to cool down the caramel by plunging the bottom of the pot into it.
To make the sugar piece - get a fork, dip it in the toffee then quickly sway back and forth over some baking paper so that it makes nice golden strands. To get a little fancy position the baking paper over a bottle or something curved so that it hardens curved. Make a few of these. I also liked to use the beautiful golden droplets for decoration :)
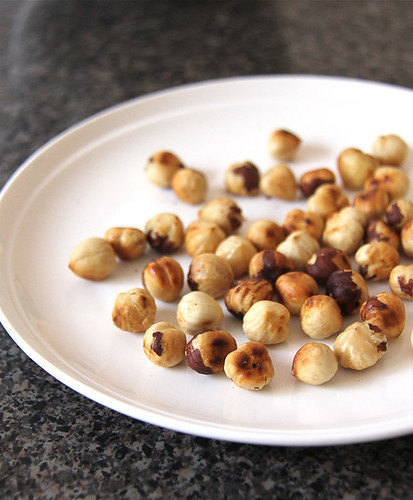
To make the candied hazelnuts - stick a skewer into the hazelnut and dip it in the toffee. Place the hazelnut on baking paper until the toffee hardens.
To Assemble:
Brush each of the cake halves with Butterscotch schnapps.
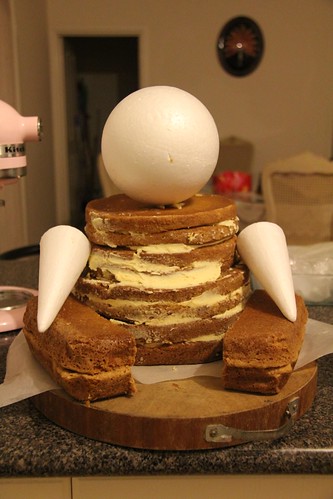
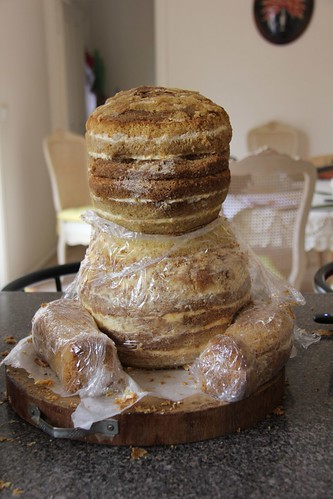
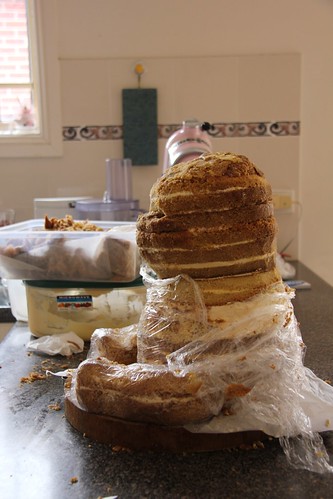
Spread a third of the buttercream and a few spoonfuls of the ganache on one half of the cake sides. Repeat with the next 2 layers (dont use all the ganache).
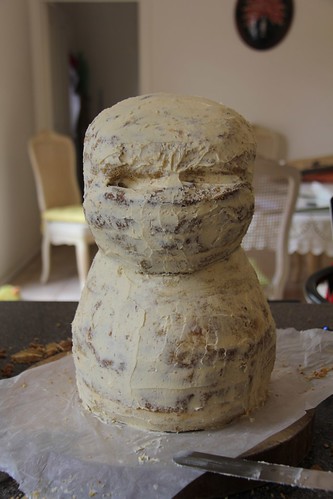
Once you have assembled all the cake layers with icing in between, ice the entire cake with the remaining ganache.
Dust cocoa powder over the top of the cake and position your sugar pieces along with your candied hazelnuts in an "artistic" way hehehe.
Pipe a neat little border around the base of the cake with some left over ganache.
Brush each of the cake halves with Butterscotch schnapps.
Spread a third of the buttercream and a few spoonfuls of the ganache on one half of the cake sides. Repeat with the next 2 layers (dont use all the ganache).
Once you have assembled all the cake layers with icing in between, ice the entire cake with the remaining ganache.
Dust cocoa powder over the top of the cake and position your sugar pieces along with your candied hazelnuts in an "artistic" way hehehe.
Pipe a neat little border around the base of the cake with some left over ganache.
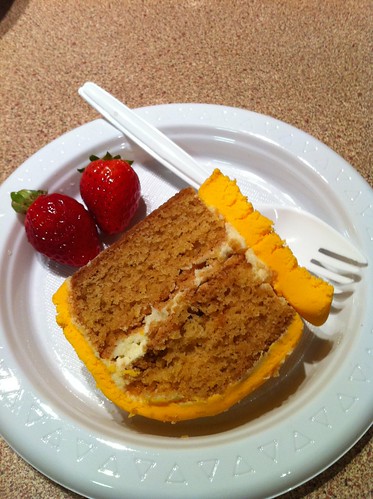
Voilà!

Hope you had a lovely 30th birthday Tactless! :)
Bon Appétit! ♥
Bon Appétit! ♥