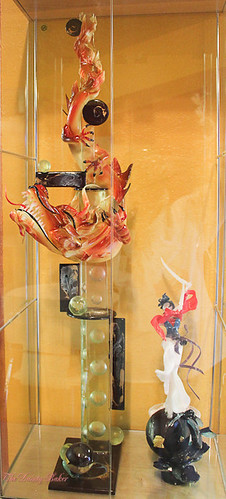
The second half of wedding cake class we learnt to work with royal icing, fondant and gumpaste.
Royal Icing - made from egg whites and powdered sugar. It dries hard and is usually used to pipe flowers, stringwork, flooding and as glue to stick things onto the cake. The recipe that we used in class was very similar, if not the same as the one that I've always used, however, one major difference is the way that it is made.... Usually I would make it just like I am making meringue except there is just a boat load more powdered sugar in the recipe, right? WRONG! To make royal icing you shouldnt beat it too hard/fast. By doing this you are incorporating too much air and it becomes unstable. This is especially important for stringwork, the tiny airpockets will make the icing inconsistent, therefore becoming more fragile and simply put a b*tch to pipe. So when making meringue be sure to whisk the egg whites on a slow to moderate speed. It may seem like its not getting anywhere but the whites with the sugar should be whipped for at least 30 mins so be PATIENT it'll get there.. eventually. Also for added stablity and flexiblity in your royal icing you can add a small amount of gum arabic.
Piped royal icing flowers - There are templates that you can find online (mainly from Wilton). We made daisies, pansies, daffodils, apple blossoms and primroses.
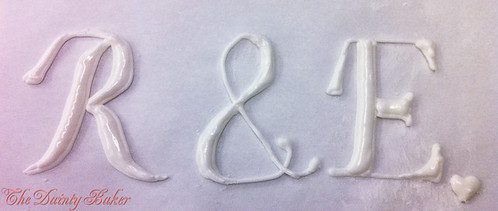
Monograms (I kept calling these mammograms! hahaha) - These are usually letters that are piped before hand and left to dry before transferring onto a cake. To make these you need to pipe the outline of the letters. Let that dry over 24 hours, then thin down the royal icing so that it no longer stands at peaks and pipe inside the lines to 'flood' it. Let this also dry overnight. When peeling off the parchment be very gentle and use a spatula to help you. Needless to say, make sure you make plenty of extras as they are very fragile.
Fondant - this is a sugar based dough that is usually used to enrobe modern cakes and is used to make many cake decorations. It dries out when left exposed so remember to always keep your fondant well wrapped and preferably with a bit of crisco (shortening aka FATTTT) rubbed on it.
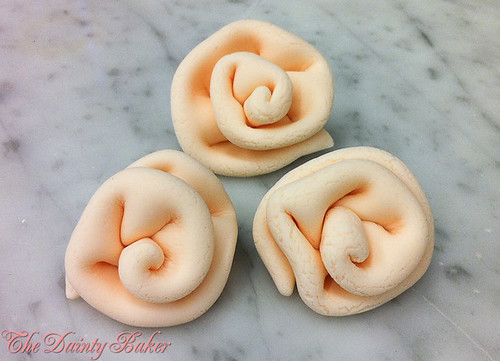
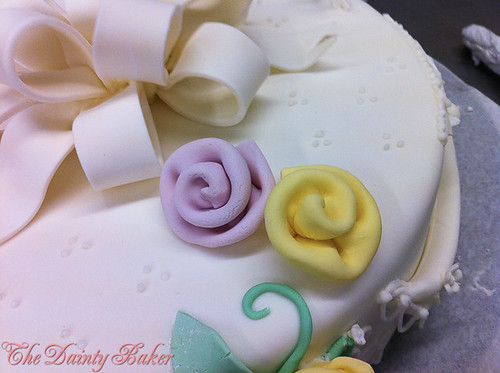
These were little ribbon roses we made from fondant. As you can see it starts to dry up which gives it the crackly look also known as 'elephant skin' so you need to either work faster or keep it well covered if you are not using it.
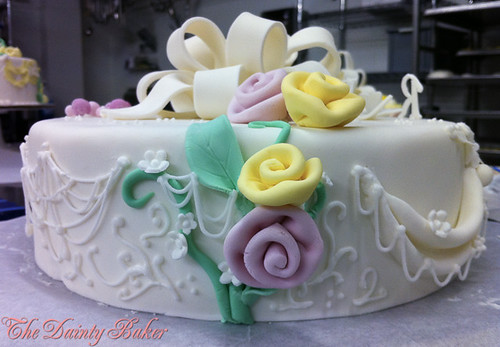
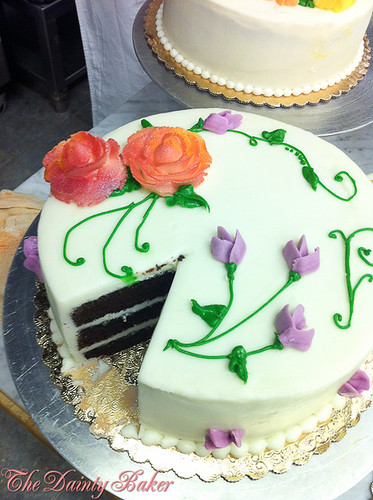
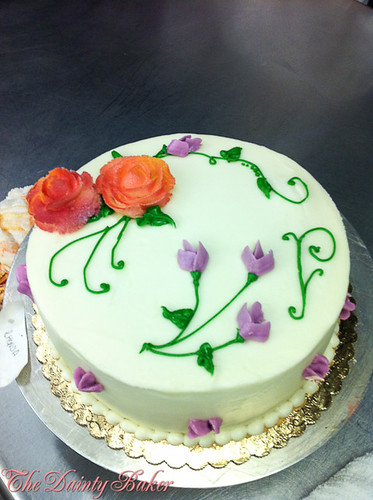
Using fondant is kind of like playing with play doh you just work with it and move it around how you want, to create all sorts of cool stuff on your cake. This was our practice dummy cake, we were practicing different techniques on it and as you can see, I've created a rose bush type thing out of fondant with a fondant bow on top. On the sides you can see stringwork and piping with royal icing.
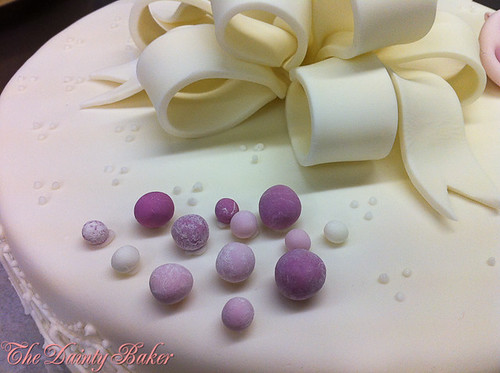
You can also make you own pearls out of fondant. Just roll out a sausage using the fondant then using a ruler measure and cut the pieces the same size. This will ensure that when you roll the fondant, they will come out the same sized pearls. Drop these pearls into a bed of cornstarch so that the bottoms wont flatten and let them dry. When they're dry, rub off the cornstarch and stick onto cake. The ones shown aren't finished yet because usually you would dust them with some pearl dust or shimmer dust.
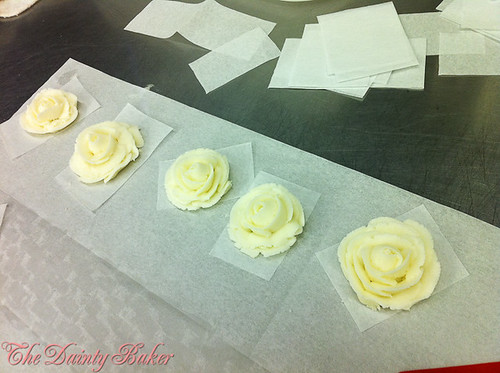
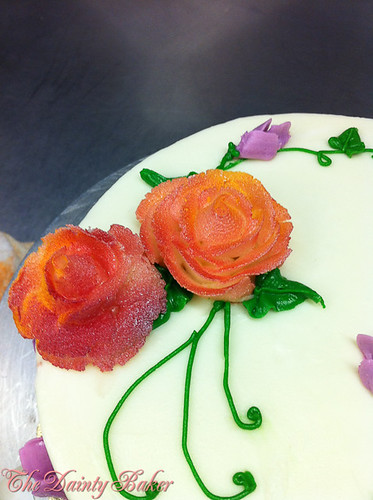
More pretty roses! :) Tip - if you need your fondant to dry quickly, make sure to add a bit of gum tracaganth to it when making it from scratch or just knead a tiny bit into it when working with it.
Gum paste - this is very similar to fondant except because it doesn't dry out as quick, it gives it more open time to work with. The inclusion of gum tracaganth in gum paste gives it more flexibility to be rolled out thinner therefore creating more realistic flowers.
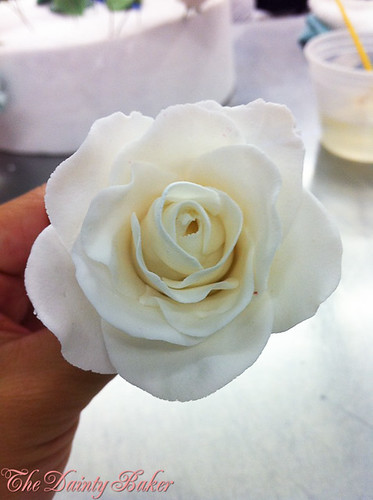
This is a rose made out of gum paste before petal dust is added. You need to paint the flowers with petal dust to give it dimension and a more realistic look otherwise it will look too flat and too uniform.
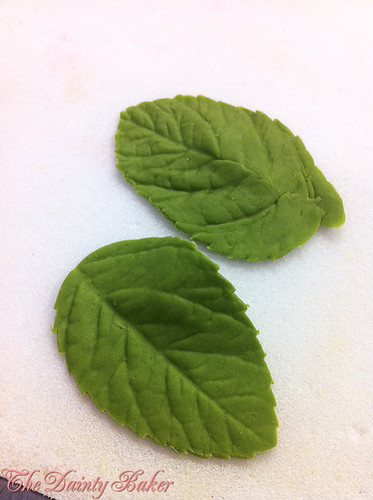
Leaves - These are just cut with leaf cutters then pressed into a veiner to create the texture on the leaves.
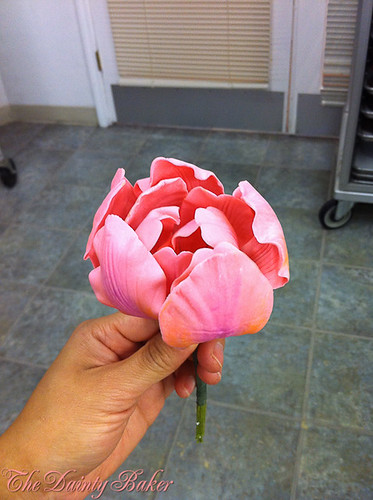
This was my very much failed attempt at making a tulip! lol I let the petals dry, curved too much. Usually you just need a slight curve and only 6 are used to make a tulip but because mine were almost bent 180 I decided to put all the petals I made together to form one mother load flower which funnily enough looks like a peony! WIN!! :)
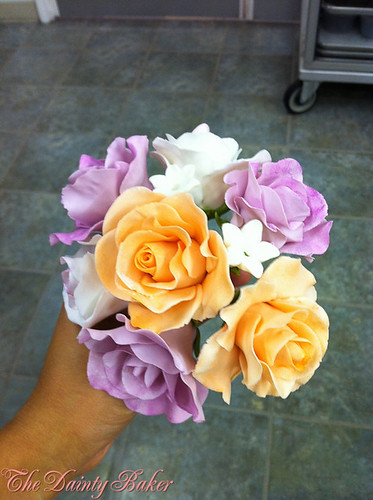
My lovely bouquet of roses with little white blossoms in between. It was so difficult to tie them together! You need to do it one at a time, binding them together at the stem using flower tape.
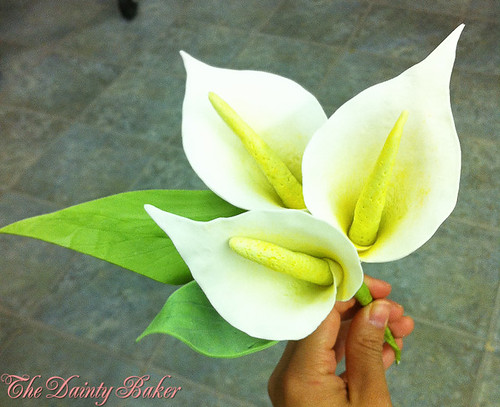
These probably were my best work in terms of flowers, they were really easy to make too. Just cut out the one petal, thin out the edges using a baller and wrap around the already made stamen. Finish with petal dust and leaves.
I loved making flowers, its time consuming but it was quite therapeutic. When I have time I will post up step by steps of how to make each of these flowers :)
Peace! x


