March 30, 2011

Chocolate & Butterscotch Cake

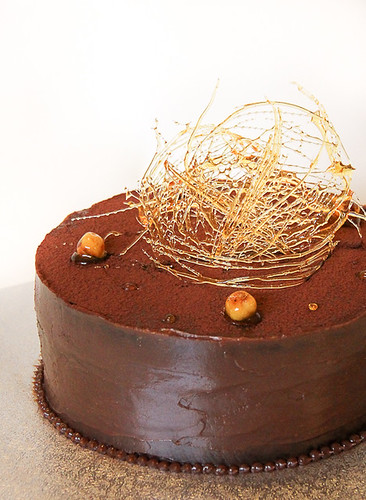
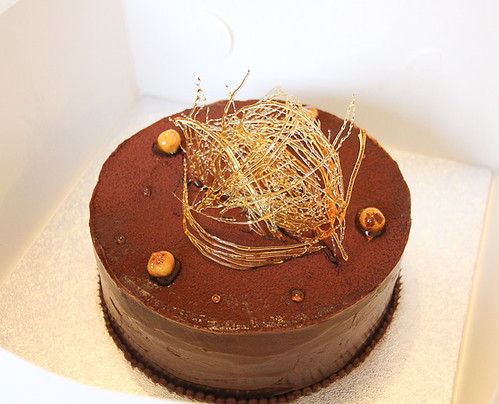
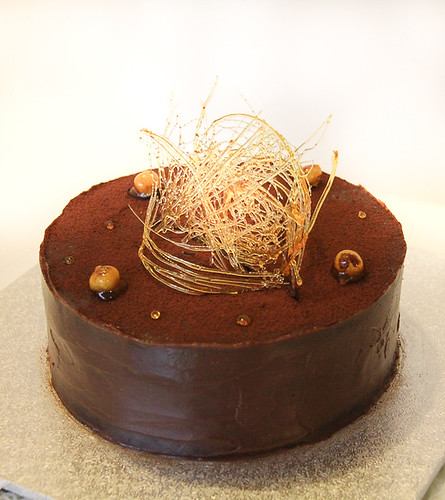
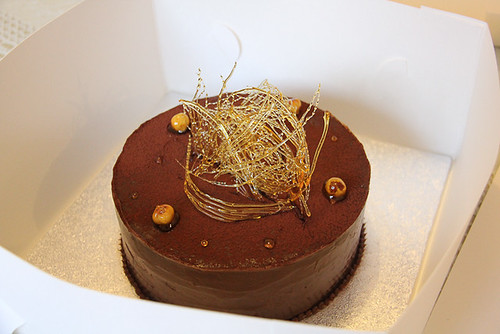
Just a quick post on this gorgeous Chocolate & Butterscotch Cake I made for a friends 30th.

Chocolate Butterscotch Cake-15

Chocolate Butterscotch Cake-11

Originally, he had requested a Butterscotch Souffle but because I had to make the Winnie the Pooh cake for the same weekend and the logistics of delivering this cake (i.e. the souffle would become a flattened mess by the time he got it) I suggested a cake based off the butterscotch flavours instead.

Chocolate Butterscotch Cake-14

I went through quite a few trials and errors with this cake - it really made me think hard and fast about the cake design and decoration process. It was different from my other cakes as it was not a novelty cake like the others, yet it had to be pretty looking enough for a 30th birthday cake.

Chocolate Butterscotch Cake-12

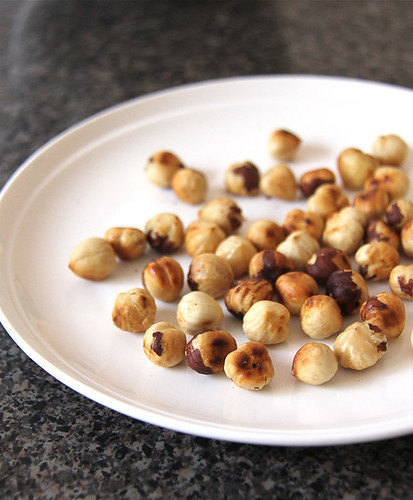
Initally, I was going to use a mascarpone based frosting with swirls of butterscotch sauce layered in between the cake but because of the heat, the cake layers were slipping and sliding. In the end, I opted for a Swiss Butterscotch Buttercream and Caramel Ganache for the frosting between layers and Caramel Ganache to cover the outside of the cake. The cake was then decorated with what I like to call my 'Sugar Centrepiece' aka toffee strands lol and candied hazelnuts aka toffee coated roasted hazelnuts.

Chocolate & Butterscotch Cake
Butterscotch schapps
Cocoa powder
Baking paper

Chocolate Cake
Adapted from The Australian Women's Weekly - Wicked

I doubled this recipe so I could get a higher cake so in total I had 4 cake layers.

1/4 cup (25g) cocoa powder
2 Tsp instant coffee (optional)
250g butter, softened
1 cup (200g) firmly packed brown sugar
2 eggs
1 Tbsp golden syrup
1 ¼ cups(185 g) self raising flour
½ cup (125ml) milk

Preheat oven to 180oC. Grease a 20 cm round cake pan.

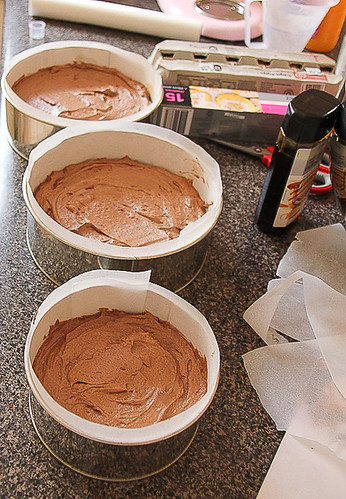
Sift cocoa into a large bowl. Then add all other ingredients and mix on a low speed until combined. Increase speed to medium and continue to mix until batter has changed to a lighter colour (see below).
Chocolate Butterscotch Cake-9

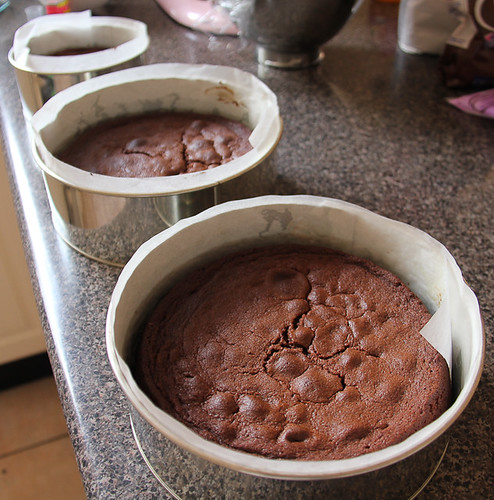
Pour mixture into prepared tin and bake for about 1 hour or until it springs back to the touch.

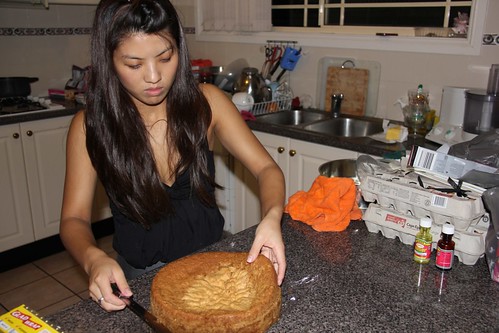
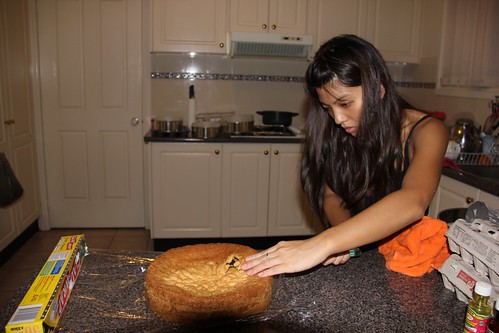
Let cake cool and cut in half with a serrated knife.

Chocolate Butterscotch Cake-2

Swiss Meringue Butterscotch Buttercream
Adapted from The Caked Crusader

4 egg whites
250g caster sugar
250g unsalted butter, at room temperature
3-4 Tbsp Butterscotch schnapps (obviously if you want it more alcoholic a stronger flavour you can add more but note it will water down the consistency of the buttercream)


Place the egg whites and sugar in a bowl over a pan of simmering water. Stir constantly to prevent the egg from cooking.

After 5-10 minutes, when the sugar has dissolved (when you cannot see any crystals on the back of the spoon), remove the bowl from the pan of simmering water and whisk until the meringue has puffed up and the mixture has cooled down.

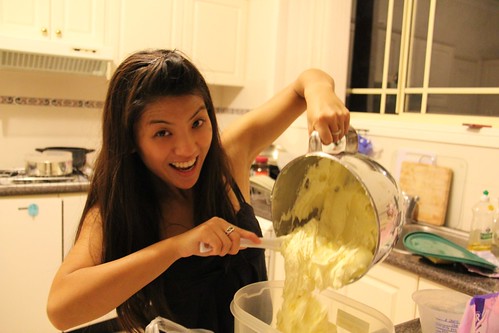
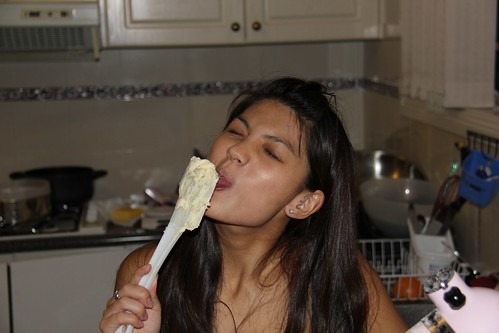
Add butter and schnapps and keep beating until smooth, light and fluffy. It will look curdled and gross at first but just keep beating.

Caramel Ganache
1 x 220 g Cadbury Caramello Block
100 g thickened cream

Melt both chocolate and cream in a pot and mix until smooth.

Toffee & Candied Hazelnuts
100g sugar
1/4 cup sugar
Hazelnuts

Bring sugar to the boil in a pot and stir gently until completely dissolved.

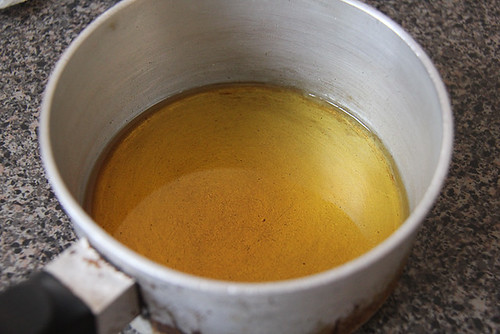
Turn down heat and let simmer until the caramel starts to change in colour - remove from heat immediately. You might need to brush down the sides with a bit of water as it is simmering to stop the syrup thats splashed on the sides crystallising the rest of the syrup,, turning the rest of the mixture into a crunchy mass... but I found that with the heat low enough I didnt really need to do this as the syrup didnt splatter on the sides too much.

Tip: you can have a bowl of iced water handy to cool down the caramel by plunging the bottom of the pot into it.

Chocolate Butterscotch Cake-3

To make the sugar piece - get a fork, dip it in the toffee then quickly sway back and forth over some baking paper so that it makes nice golden strands. To get a little fancy position the baking paper over a bottle or something curved so that it hardens curved. Make a few of these. I also liked to use the beautiful golden droplets for decoration :)
Chocolate Butterscotch Cake-4

To make the candied hazelnuts - stick a skewer into the hazelnut and dip it in the toffee. Place the hazelnut on baking paper until the toffee hardens.

To Assemble:

Brush each of the cake halves with Butterscotch schnapps.

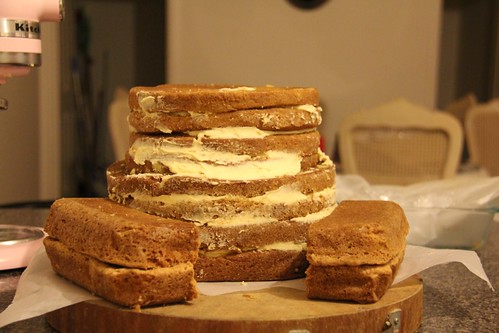
Spread a third of the buttercream and a few spoonfuls of the ganache on one half of the cake sides. Repeat with the next 2 layers (dont use all the ganache).

Once you have assembled all the cake layers with icing in between, ice the entire cake with the remaining ganache.

Dust cocoa powder over the top of the cake and position your sugar pieces along with your candied hazelnuts in an "artistic" way hehehe.

Pipe a neat little border around the base of the cake with some left over ganache.

Voilà!

Chocolate Butterscotch Cake-13

Hope you had a lovely 30th birthday Tactless! :)
Bon Appétit! ♥

March 20, 2011

Winnie the Pooh

Chelsea

About a half a year ago I was asked to be the God Mother of a beautiful baby girl - Chelsea. I remember I felt very honored and touched that out of all people, my dearest cousin asked me. Thrilled and excited I accepted :) She is a bright shining light in my life and I absolutely love her to bits! :D

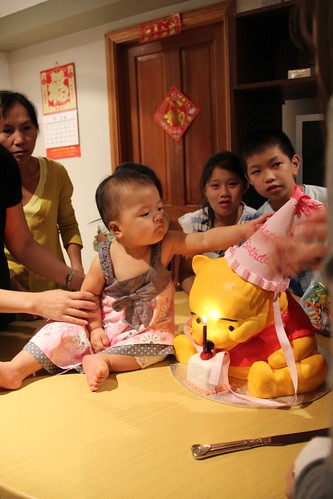
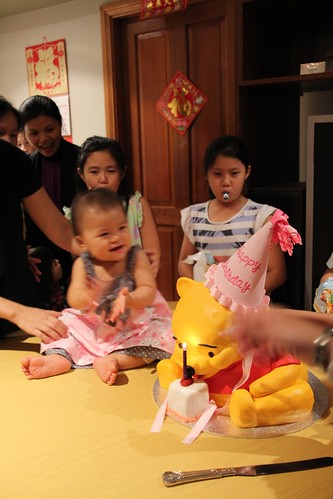
So cometh her 1st birthday, I wanted only the biggest and best cake there ever was… thus begins my ultimate journey to make a 3D Winnie the Pooh cake hehehe


Initially I was a little overwhelmed, true to my nature (Queen of Procrastination) I left everything to the last minute…. But to my defence I had another cake order for the same Sat and life always calls at the most inconvenient time.. so what free time I did have was spent on this behemoth project.


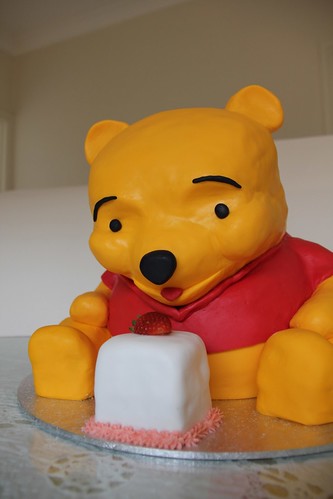
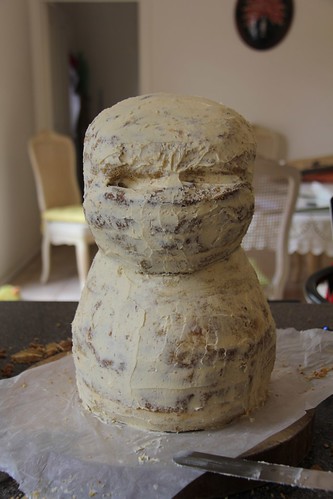
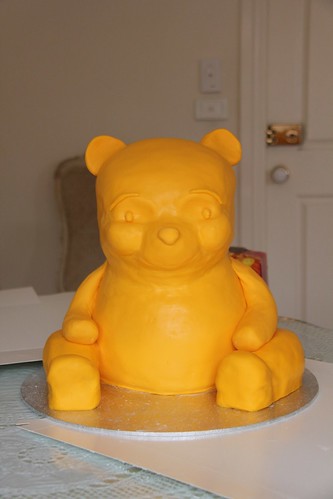
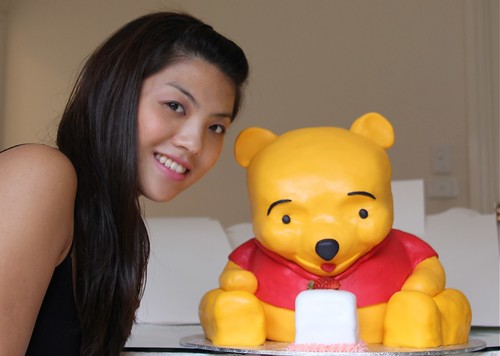
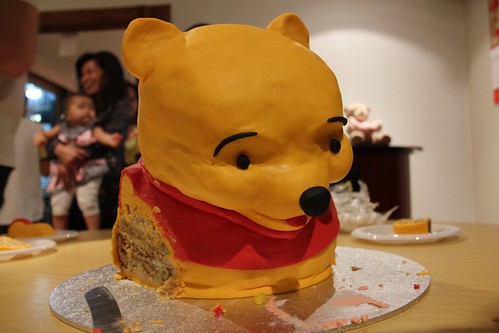
The WHOLE of Pooh bear was edible, the head, legs, belly, ears - the lot! I was originally going to carve the head out of Styrofoam (like many other sane cake makers would do), however I couldn’t find a styrofoam ball big enough to fit properly so about 2 days before the cake was due I decided to make the head out of cake too!


My choice for the type of cake recipe used was limited because it had to be dense and firm enough to stand upright and be able to withstand my hacking and sculpting away at it. I opted for a pound cake recipe because when you cut it, it still holds its shape, is firm enough not to collapse yet it is still fluffy and tastes awesome! Buttercream was also used for its dense, shape holding properties.


I made 3 x 10 inch round cakes and 2 x 8 inch round cakes for the base/body. In hindsight I should’ve probably used all 10 inch round cakes.

Pound Cake (1 portion is enough for 2 x 10 inch round tins)
2 cups sugar
2 cups plain flour
¼ tsp salt
1 tsp baking soda
1 cup (225g) unsalted butter, softened
5 eggs
1 ½ tsp vanilla extract
1 ½ tsp lemon extract

Preheat oven to 1650C, line 2 x 10 inch round cake tins (or you can use a Bundt cake pan).

Whip butter and sugar until light and fluffy.

Add all dry ingredients (flour, salt, baking soda). Then incorporate eggs one at a time. Mix in the extracts.

Bake for 60 minutes or until it springs back to the touch.

Strawberry Buttercream Frosting (I made like 3kgs of this stuff – Ohhh sooo damn good!)
3 cups icing sugar
225g butter, softened
1 tsp vanilla essence
1 tsp strawberry essence
1 drop red food colouring (optional – I didn’t use this because mostly kids would be eating it and I didn’t want them eating artificial colourings, lol that was my bit of ‘health’ awareness)

Beat the butter until light and fluffy.

Gradually add the sugar and whip until smooth. Add essences and colouring (if using).


NOM NOM NOM

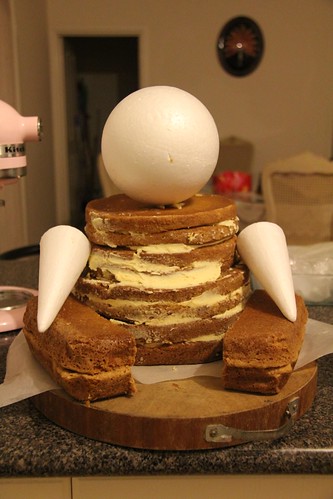
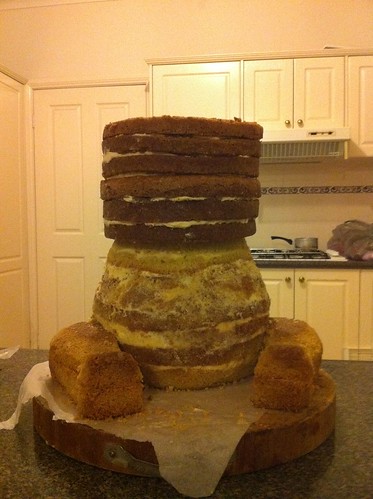
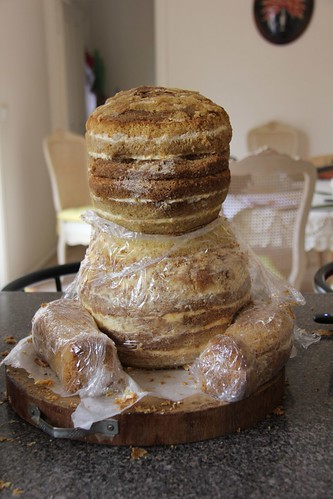
First assembly, I sandwiched the body and cut out the legs from a 20 cmx 20 cm square tin.


This was originally how I was going to do the head and arms - i.e. cover the styrofoam with fondant and shape it into features.

Winnie the Pooh 002
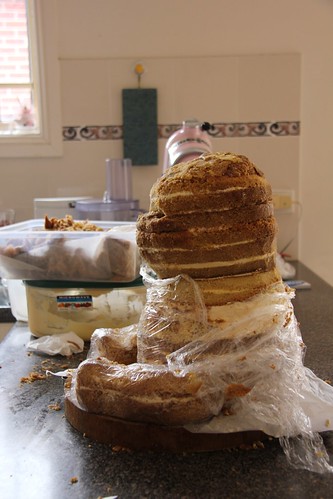
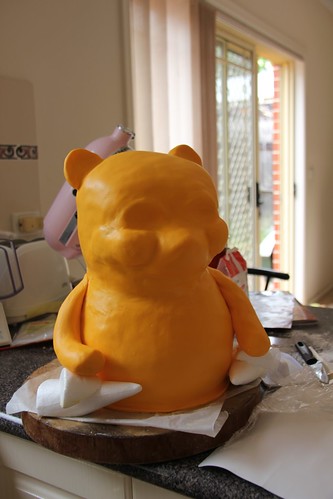
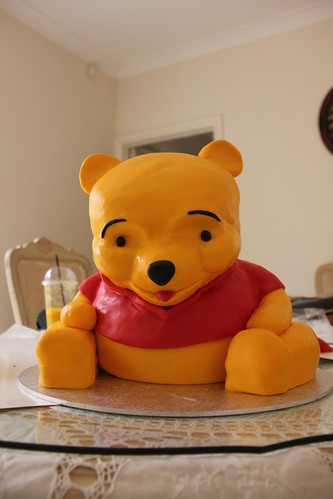
After contemplation that the styrofoam head would be too small I decided to bake some extra cake for the head. If you are wondering how I managed to structurally keep the head up ... I didn't. If you notice from the earlier photos Pooh actually slumps forward. This is because his head got a little too heavy and having the cake at room temp softened the base causing the top part to become as my cousin adptly calls Rhonda's leaning Tower of Pisa effect (I made his wedding cake about a year ago, it was a whoopping 5 tiers .. that started to lean forward too :S lol) But I did try... I put skewers in the base and stuck the head on top. If I were to attempt to do this cake again I would definately invest in using 2-3 mm dowels and a board underneath the head. That would solve the problem of the head falling forward.

This is how the cake looked after I carved out the features.


First crumb coat.

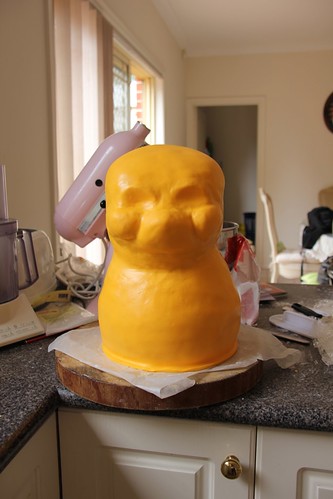
Managed to cover the body with fondant. I did this in 2 stages. I covered the belly first by wrapping the fondant around the cake and patching it together at the back. Then I drapped a second lot of fondant over the top of the head (as if it were a normal cake) and smoothed it down.


Used extra fondant to create features like the arms, ears and I built on the face by adding extra fondant where the cheeks and nose were. It was pretty thin where the eyes were so I also added extra fondant there and pushed it back to create hollows like Pooh bear has.


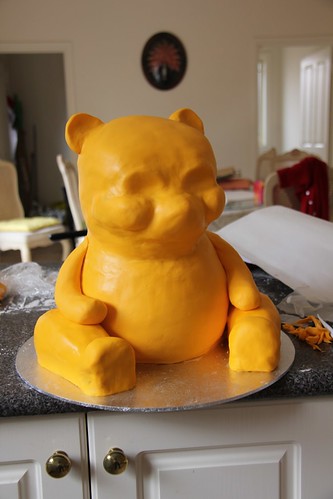
I covered the legs in fondant separately then I stuck it to the body.


So this was what a naked Pooh bear on the day before the party looked like. He was standing up so proud and tall and was just 'perfect'!


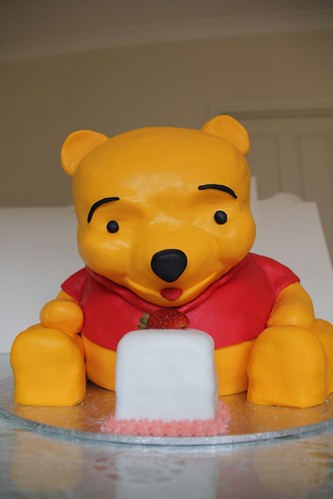
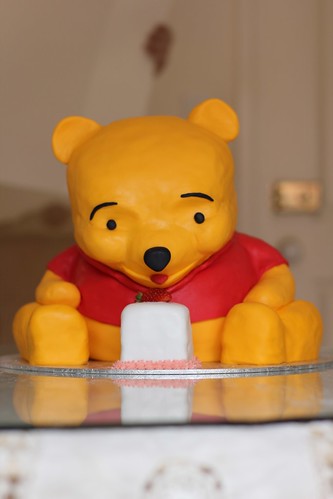
The next day when I came back to dress him and add the proper features he had already begun to get 'lazy' and his head was slumping. I was pretty crushed that my cake had done this but I altered my design to suit what was happening. Lucky for me, Pooh is quite lazy and he usually nods off so I thought at least it looks like I 'meant' to do that and if I put a cake infront of him it'll just look like he is leaning forward to eat his cake! lol


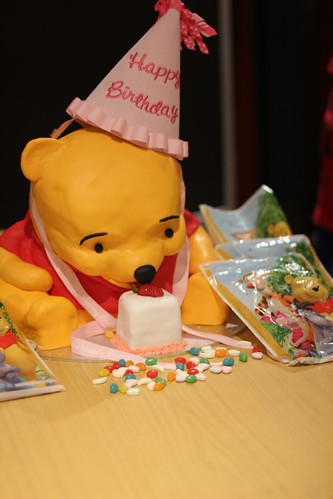
The delivery of the cake almost gave me a heart attack. It was a miserably humid yet rainy day. I had the cake on my lap and the destination was about 1 hour away... but wait for it ... we got pulled over by the cops and it turned out that the Log's (brand new) car rego had expired. As a result... I had to wait in the car with the cake whilst he went back to get the other car. I had the aircon on full blast to stop the cake from melting anymore than it had to but as the minutes ticked by, temptation of the strawberry cake was too much for Pooh and he just kept inching closer and closer :S


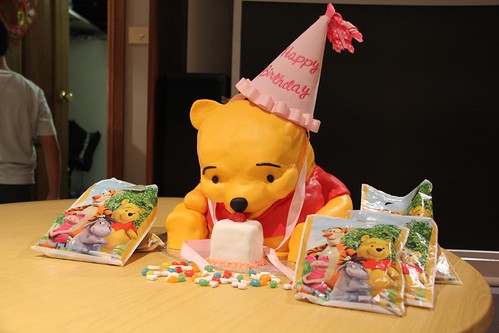
Alas, we made it in one piece, Pooh got a taste of his cake before the birthday song was sung though lol!


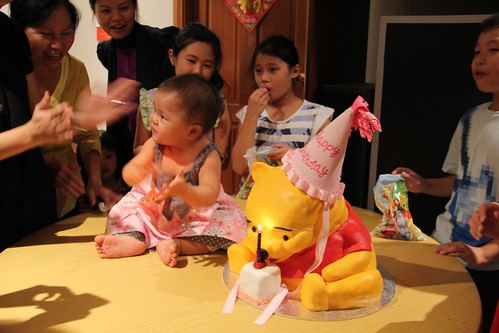
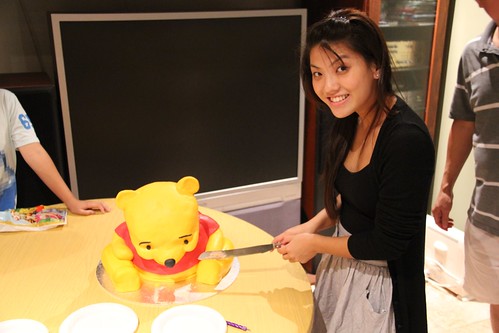
The cake was a hefty 12-15 kgs and approx 35 cm tall.... it was bigger and heavier than Chelsea!!


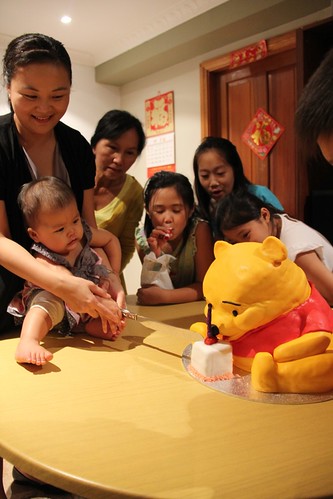
hahaha look at her face... "mummy I dont want to cut Pooh bear!"

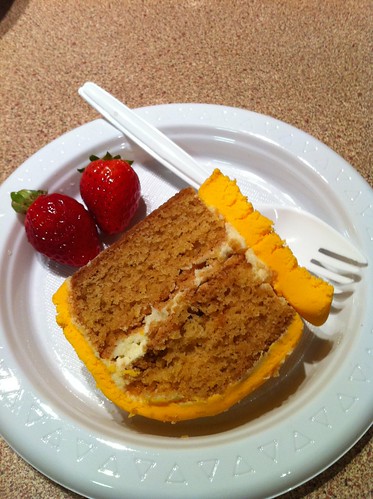
Yes my heart sorta broken when I had to cut up the cake... oh but ah wells... tasted yummy!!

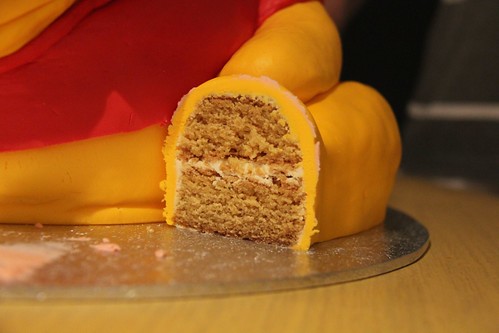
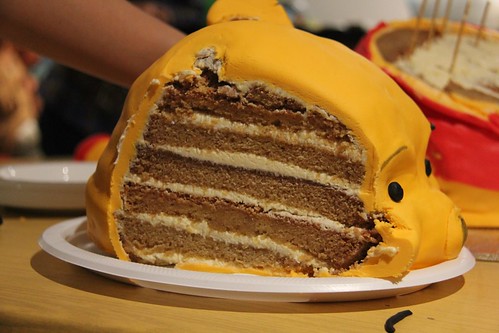
Look at that perfect layer!!!


BRAINS!!!


Poor Pooh!

Winnie the Pooh 056

Phew, what a feat!! There was enough cake to feed a 200 guest wedding! But I'm glad I attempted it, lets just hope next time I wont take short cuts on the structural stability of my cakes LOL!


♥ HAPPY 1ST BIRTHDAY CHELSEA! ♥
xox

March 7, 2011

- Flowers -

Things have been sh*t lately.

I know I whinge and whine alot. All my friends tell me I do. But why oh why is God doing this to me? Maybe it's character building? Maybe I've had it coming for me? Whatever it maybe, I want out.

I want to submerge myself into the land of the sweet and sticky. The soft marshmallowy goodness of smiles and laughter. The brain numbing few seconds worth of ecstacy otherwise known as "WTF, Ooo Ooo OMG, COLD!!" when an icecream is devoured a little too quickly. The comforting, hearty (usually fatty) awesomeness of a home cooked roast with beautiful aromas wafting through the household, to which I float towards with an empty belly and a wide open mouth.

That is what my life should be like. That is what I want. If you are not that then please find your way to the exit, get out of my sight and never return! *foot stamp*

Yes, I can be dramatic. I know, I know.

I tell myself it's not so bad. It's not so bad. Onward I plough. My guiding light? (drum roll please...)

I AM GOING TO THE US of A, baby!!!

I will be going there for 6 months. To do what? I hear you ask?

B.
A.
K.
E.

:)

I have finally built up the courage to do it. I'm going to Orlando, Florida to partake in a 6 month baking course at the Notter School of Pastry Arts. I was inspired by a fellow blogger Su Yin of The Journal of a Girl who loves to Cook.

I used to stalk her blog along with several other food blogs whenever I was having a bad day or just needed some inspiration (usually at work). Somehow all the beautiful cakes & pretty cookies would always bring a smile to my face and erase whatever crap was bringing me down.

Now I can make my own journey, instead of living life vircariously through others. I don't intend for this trip to be a band aid solution to all my problems here. But a good break and a breath of fresh air might just make me see things clearer and teach me the art of "letting go".

I hope this trip will be a good learning experience, both in the kitchen and life in general – take each step with my chin up, big smile and a mouth full of food! :) ... and of course, you guys will be coming along on the journey with me too...so get ready for a ridiculous rollacoaster ride!!! ;)


"But I won't regret ‘cause you can grow flowers from where dirt used to be"
- Kate Nash -

LinkWithin

Related Posts Plugin for WordPress, Blogger...